
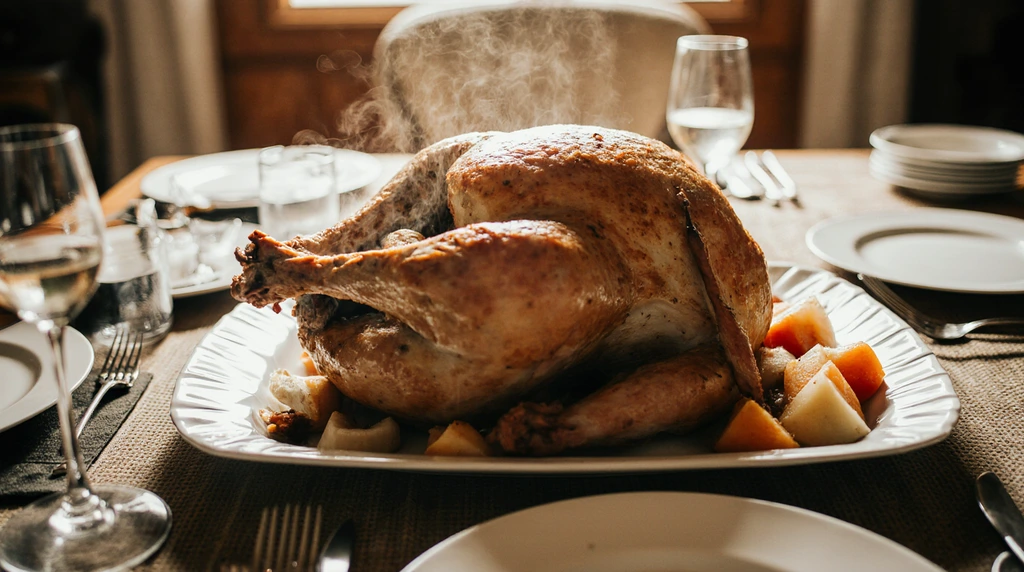
Okay, so classic roast turkey isn’t exactly rocket science, but wow, did I manage to overcomplicate it my first few attempts. Everyone talks about their perfect classic roast turkey like it’s no big deal, and here I was, serving up something that tasted like cardboard wrapped in leather. Not my finest moment.
Here’s the thing about classic roast turkey—and I mean this—it’s actually pretty forgiving once you stop overthinking it. My biggest problem? Following those fancy recipes that tell you to do seventeen different things at once. Baste every twenty minutes, rotate the pan, sacrifice a small herb bundle to the cooking gods. Too much. Last Thanksgiving, I tried one of those complicated methods and literally forgot the turkey was in the oven because I was so stressed about the timing. Smoke alarm went off at 3 PM. My mother-in-law heard it from the driveway. Fun times.
But I finally figured out a classic roast turkey method that actually works, and it doesn’t involve NASA-level calculations or setting twelve different timers. This is the real deal—the classic roast turkey that made my uncle go back for thirds and then ask if I’d been secretly taking cooking classes. (I hadn’t. Just finally learned to chill out and let the bird do its thing.)
My Messy Turkey Journey (Feel Free to Skip This Part)
So I think my obsession with getting the perfect classic roast turkey started back in 2019? Or maybe 2020. Honestly, the pandemic years all blur together. Anyway, I decided I was going to be the person who makes an amazing classic roast turkey, except I had literally never made one before. Bold choice.
Version 1.0 was basically a disaster. Dry as a desert. My husband tried to be supportive and said it was “rustic,” which is married-people code for “this is terrible but I love you.” I used one of those oven bags because the internet said it would keep things moist. It did not. The skin was pale and sad-looking, like it had given up on life.
Version 2.0 wasn’t much better. I went the opposite direction and basted it every fifteen minutes like my life depended on it. Do you know how many times you have to open the oven when you’re basting every fifteen minutes? TOO MANY. The oven temperature was all over the place, and the turkey took like four and a half hours to cook. By the time it was done, everyone had eaten so many appetizers that nobody was even hungry anymore.
But Version 3.0? That’s the one I’m sharing with you today. This is the classic roast turkey that finally worked.
What You’re Gonna Need (Shopping List Real Talk)
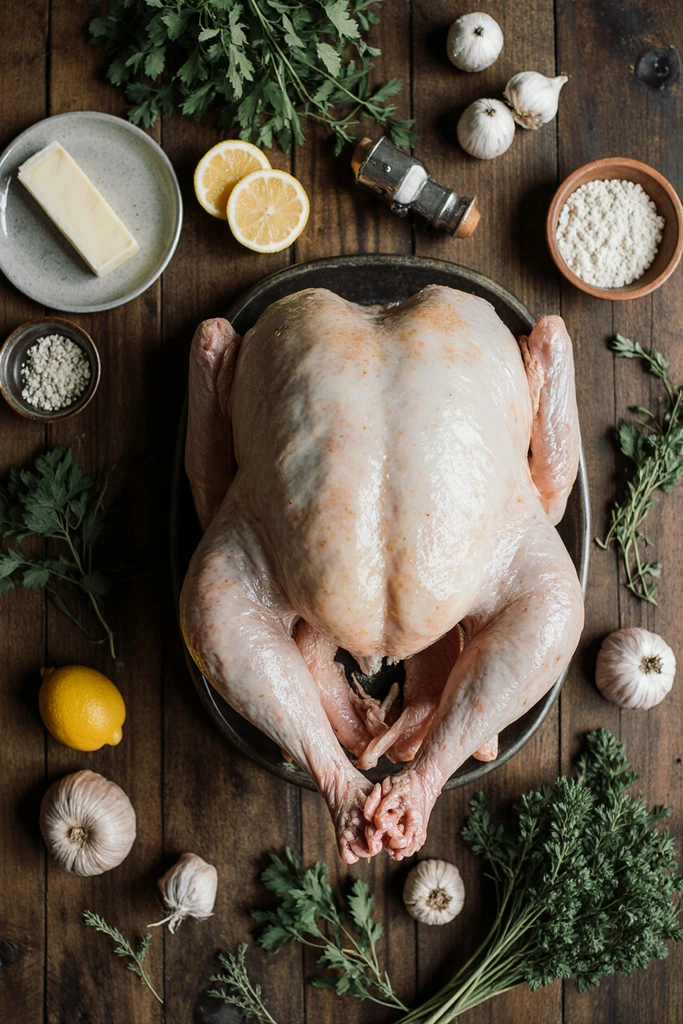
Let me be real with you about the ingredients for this classic roast turkey. Don’t overcomplicate this part.
The Turkey:
- One turkey (12-15 pounds works for most families)
- Seriously, don’t buy one of those pre-basted turkeys with the solution injected. Just don’t. Get a regular turkey, fresh or frozen doesn’t matter much. I’ve used both
For the Butter Situation:
- 1 stick of butter, softened (I use Kerrygold because I’m fancy like that, but regular butter is totally fine)
- Don’t use margarine. Come on.
Aromatics and Herbs:
- 1 lemon, cut in half
- 1 whole head of garlic, cut in half horizontally (don’t peel it, just chop it in half)
- Fresh herbs: thyme, rosemary, sage—whatever you can find at the store
- 1 onion, quartered (doesn’t matter what kind, I usually grab whatever’s on sale)
- 2 carrots, roughly chopped
- 2 celery stalks, roughly chopped
Seasoning:
- Salt (I use kosher salt, but regular table salt works if that’s what you have)
- Black pepper
- That’s it. Really.
For the Pan:
- 2 cups chicken or turkey broth
- OR just use water if you don’t have broth, nobody will know
Quick shopping story: Last year I went to three different stores trying to find fresh sage because one recipe said dried herbs were “unacceptable.” Know what? Dried herbs work fine for classic roast turkey. Save yourself the trip.
Let’s Actually Make This Thing
Okay, deep breath. Making a classic roast turkey seems scary, but it’s really just a series of pretty simple steps. I’m gonna walk you through exactly what I do.
Step 1: Thaw Your Turkey (If Frozen)
This is where people mess up a classic roast turkey before they even start cooking. If your turkey is frozen, you need to thaw it in the fridge. It takes forever—like 24 hours for every 4-5 pounds. So a 15-pound turkey needs about 3-4 days in the fridge.
I learned this the hard way when I brought home a frozen turkey on Thanksgiving morning thinking I could just “run it under warm water for a bit.” Narrator: She could not. We ordered pizza that year.
Step 2: Prep Work (Not as Bad as You Think)
Take your thawed classic roast turkey out of the packaging. There’s gonna be some giblet bags inside the cavity—one in the main cavity, sometimes one in the neck cavity. Pull those out. (I always forget about the neck one and then panic halfway through cooking when I remember.)
Pat the turkey dry with paper towels. Like, really dry. This helps the skin get crispy. Use a bunch of paper towels. It’s gonna feel wasteful, but trust me on this one.
Let the turkey sit at room temperature for about an hour before cooking. This helps it cook more evenly. I usually do this step while I’m panicking about everything else.
Step 3: Preheat and Prep Your Pan
Preheat your oven to 325°F. Some recipes say 425°F and then lower it, but I don’t have the mental energy for that anymore. Just 325°F the whole time for a classic roast turkey works perfectly fine.
Throw your chopped onion, carrots, and celery in the bottom of a roasting pan. Pour in your broth or water. These veggies are gonna be your turkey’s bed, and they’ll make your house smell AMAZING.
Step 4: Stuff the Cavity (Not with Stuffing Though)
This is where the classic roast turkey gets some flavor. Shove that lemon, garlic, and a bunch of fresh herbs inside the main cavity. Don’t be delicate about it. Just stuff it in there. The lemon and garlic are gonna steam inside the bird and make everything taste incredible.
I usually tie the legs together with kitchen twine, but honestly? Sometimes I forget and it turns out fine anyway.
Step 5: The Butter Massage (Sounds Weird, Works Great)
Take your softened butter and mix it with salt, pepper, and some chopped herbs. Then rub it ALL OVER the turkey. Get under the skin on the breast if you can—just slide your hand under there and smear butter around. It feels super weird, but this is what makes the skin crispy and delicious.
Some people are really precise about this, measuring out exact amounts of seasoning. Me? I just season it until it looks good. Probably like 2 tablespoons of salt and 1 tablespoon of pepper total, but I’m not measuring while I’m elbow-deep in raw turkey.
Step 6: Into the Oven It Goes
Put your classic roast turkey on top of those veggies in the roasting pan, breast side up. Tent it loosely with aluminum foil.
Here’s the timing thing everyone stresses about: About 13-15 minutes per pound. So a 15-pound turkey takes roughly 3 to 3.5 hours. But the ONLY way to really know if your classic roast turkey is done is with a meat thermometer. You want 165°F in the thickest part of the thigh.
I take the foil off for the last 45 minutes to let the skin brown. Sometimes I forget and take it off with an hour left. Sometimes I only take it off for the last 30 minutes. It’s all fine.
Step 7: Basting (Or Not)
Okay, real talk about basting your classic roast turkey: I baste maybe twice during cooking. Not every twenty minutes like some psycho. Just like… once halfway through, and once in the last hour. Use a spoon or a baster thing if you have one. Don’t stress about this part.
Actually, you know what? Sometimes I don’t baste at all and it still turns out great. The butter you rubbed on earlier is doing most of the work anyway.
Step 8: The Rest (SUPER IMPORTANT)
When your thermometer says 165°F, take that beautiful classic roast turkey out of the oven. DO NOT CUT INTO IT YET.
Let it rest for at least 30 minutes. I know you’re hungry. I know everyone’s hovering around the kitchen asking when it’ll be ready. But this is the difference between a dry turkey and a juicy classic roast turkey. The juices need time to redistribute.
I tent mine loosely with foil and then honestly just leave the kitchen so I’m not tempted to start carving early.
Random Tips I’ve Picked Up
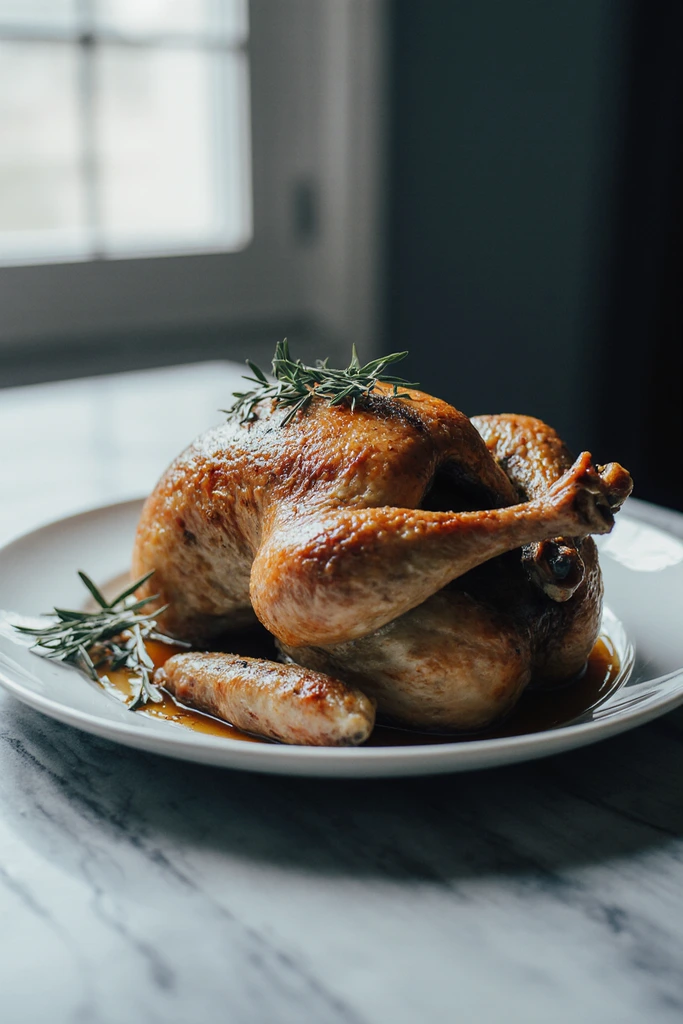
Making a classic roast turkey has taught me some things:
- Invest in a good meat thermometer. Mine cost like $15 on Amazon and it’s saved me from serving undercooked turkey multiple times.
- If the breast is browning too fast, make a little foil shield just for that part. I cut a piece of foil into a triangle and lay it over the breast.
- Save those drippings from the pan! They make the best gravy. I’m not gonna include a gravy recipe here because that’s a whole other thing, but seriously, save them.
- Turkey takes longer than you think. Always add an extra hour to your timeline just in case.
Oh, and another thing—if you’re cooking classic roast turkey for the first time, maybe don’t do it on Thanksgiving. Practice on a random Sunday in October or something. Way less pressure.
Why This Method Works
Look, I’m not a chef. I’m just someone who burned enough turkeys to finally figure out what actually works for a classic roast turkey. This method is forgiving. You don’t have to be super precise. The low oven temperature means you’re less likely to dry out the breast while waiting for the thighs to cook.
The butter under the skin? That’s the secret weapon. It bastes the turkey from the inside while it cooks. The aromatics in the cavity make the meat taste amazing without you having to do much.
And honestly, the rest time at the end is probably the most important part of the whole classic roast turkey process. I know it’s hard to wait, but it’s worth it.
Final Thoughts
Is this the fanciest classic roast turkey recipe out there? Nope. Will food bloggers judge me for not brining it or dry-aging it or whatever the trend is now? Probably. But you know what? This turkey tastes good, it’s not crazy difficult, and nobody’s ever left my table hungry.
My 8-year-old actually ate turkey this year instead of just filling up on rolls. My neighbor Sarah asked for the recipe. My mother-in-law—who has opinions about EVERYTHING—said it was “quite good,” which from her is basically a Michelin star.
If I can make a decent classic roast turkey after multiple disasters, anyone can. Just follow these steps, don’t panic, and remember that even if it’s not perfect, people are usually just happy someone else did the cooking.
Now I’m hungry again. Thanks a lot, brain.
Happy cooking! (And may your smoke alarms stay quiet) 🦃
Let me know how your classic roast turkey turns out! Seriously, I’m always curious if my method works for other people or if I just got lucky.
Also check : 15 Healthy Thanksgiving Dinner Ideas That Don’t Taste Like Diet Food
Table of Contents
Classic Roast Turkey
A foolproof classic roast turkey recipe with simple ingredients and no-stress method. Perfect for beginners, this juicy roasted turkey uses butter, herbs, and aromatics for incredible flavor without complicated techniques.
Ingredients
- 1 whole turkey (12-15 pounds)
- 1 stick unsalted butter, softened
- 1 lemon, cut in half
- 1 whole head garlic, cut in half horizontally
- Fresh thyme sprigs
- Fresh rosemary sprigs
- Fresh sage leaves
- 1 onion, quartered
- 2 carrots, roughly chopped
- 2 celery stalks, roughly chopped
- 2 tablespoons kosher salt
- 1 tablespoon black pepper
- 2 cups chicken or turkey broth
Instructions
-
Step 1If using frozen turkey, thaw in refrigerator for 3-4 days (24 hours per 4-5 pounds).
-
Step 2Remove turkey from packaging and remove giblet bags from cavities. Pat turkey completely dry with paper towels.
-
Step 3Let turkey sit at room temperature for 1 hour before cooking.
-
Step 4Preheat oven to 325°F (165°C).
-
Step 5Place chopped onion, carrots, and celery in bottom of roasting pan. Pour in broth or water.
-
Step 6Stuff turkey cavity with lemon halves, garlic, and fresh herb sprigs.
-
Step 7Mix softened butter with salt, pepper, and chopped herbs. Rub all over turkey, getting some under the breast skin.
-
Step 8Place turkey breast-side up on vegetables in roasting pan. Tent loosely with aluminum foil.
-
Step 9Roast for approximately 13-15 minutes per pound (3 to 3.5 hours for 15-pound turkey). Remove foil for last 45 minutes to brown skin.
-
Step 10Baste turkey once or twice during cooking if desired, but not required.
-
Step 11Turkey is done when meat thermometer inserted into thickest part of thigh reads 165°F (74°C).
-
Step 12Remove turkey from oven and let rest for 30 minutes before carving. Tent loosely with foil while resting.