
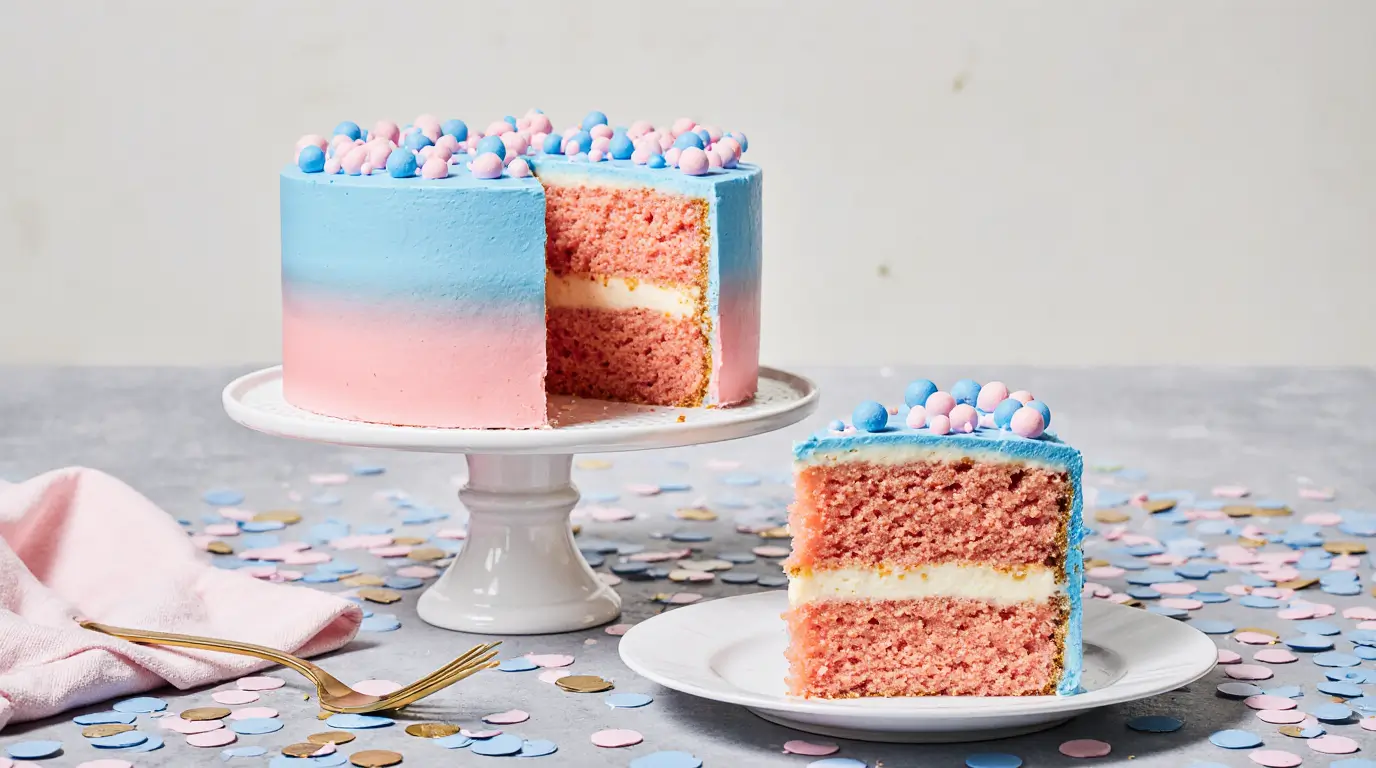
Gender reveal cake – honestly, when my sister first asked me to make one for her family, I had no idea what I was getting into. I thought, “How hard can it be? It’s just cake with food coloring, right?” Wrong. So very wrong.
This gender reveal cake recipe took me four tries to perfect, and let me tell you, my kitchen looked like a rainbow exploded after attempt number two. But now? I’ve got this down to a science, and this gender reveal cake never fails to create that magical moment when couples cut into it.
Why I Started Making Gender Reveal Cakes
Look, I’m not usually the baker in the family. That’s my mom’s thing. But after seeing my sister’s Pinterest fail – a sad, deflated gender reveal cake that looked more gray than pink – I decided someone needed to step up. Plus, keeping secrets has never been my strong suit, so making the actual cake gave me something to focus on instead of accidentally blurting out “It’s a girl!” at the grocery store.
My first gender reveal cake attempt was… well, let’s just say the color bleeding made it look tie-dyed. Not exactly the clean reveal we were going for. The second one was so dense you could’ve used it as a doorstop. But by the third try, I was getting somewhere, and the fourth? That gender reveal cake was perfection.
What Makes This Gender Reveal Cake Different
Here’s the thing about gender reveal cake – most recipes online are either too dry (because of all that food coloring) or the colors come out muddy and gross. This recipe solves both problems. The secret is using gel food coloring instead of liquid, and adding a touch of sour cream to keep everything moist.
And another thing – don’t cheap out on the vanilla extract. I learned this the hard way when I used imitation vanilla and the whole gender reveal cake tasted artificial. Real vanilla makes a difference, trust me.
Table of Contents
Ingredients for Your Gender Reveal Cake
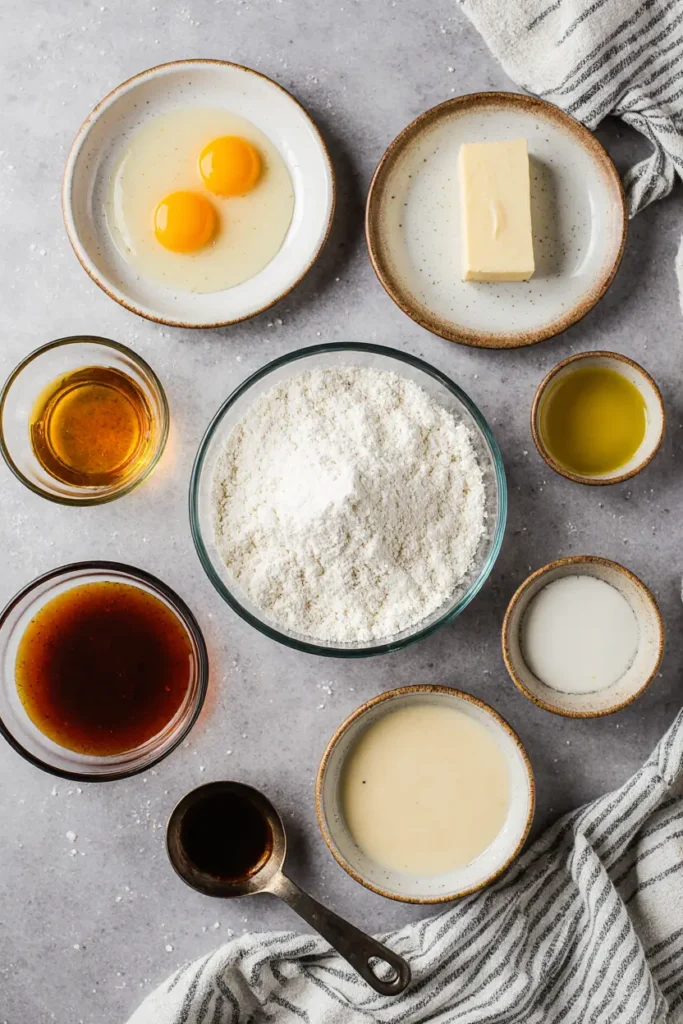
For the cake:
- 2 1/2 cups all-purpose flour
- 1 1/2 cups granulated sugar
- 1/2 cup unsalted butter, softened
- 1/4 cup vegetable oil
- 4 large eggs, room temperature
- 1 cup whole milk
- 2 teaspoons vanilla extract
- 2 1/2 teaspoons baking powder
- 1/2 teaspoon salt
- 1/3 cup sour cream
- Gel food coloring (pink or blue)
For the neutral frosting:
- 1 cup unsalted butter, softened
- 4 cups powdered sugar
- 1/4 cup heavy cream
- 2 teaspoons vanilla extract
- Pinch of salt
Pro tip: Buy the gel food coloring at a baking supply store if you can. The stuff from the grocery store works, but you’ll need way more of it, and that can mess with your gender reveal cake texture.
Step-by-Step Instructions
1. Prep Everything (Don’t Skip This!) Preheat your oven to 350°F. Grease two 9-inch round pans and line them with parchment paper. I cannot stress this enough – use parchment paper! I once had a gender reveal cake stick so badly to the pan that half of it came out in chunks. Not cute.
2. Mix the Dry Ingredients Whisk together flour, baking powder, and salt in a medium bowl. Set aside. Nothing fancy here, but make sure you actually whisk it. Sifting is even better if you’re feeling ambitious.
3. Cream Butter and Sugar In your stand mixer (or with a hand mixer if that’s what you’ve got), cream the butter and sugar until it’s light and fluffy. This takes about 3-4 minutes. Don’t rush this step – it’s what makes your gender reveal cake light instead of dense.
4. Add Eggs and Oil Beat in eggs one at a time, then add the oil and vanilla. The mixture might look a little weird at this point – kind of separated and lumpy. That’s normal! Don’t panic like I did the first time.
5. Alternate Wet and Dry Add the flour mixture and milk alternately, starting and ending with flour. Mix until just combined – overmixing makes tough cake, and nobody wants a chewy gender reveal cake.
6. The Magic Step – Color Time Fold in the sour cream, then add your food coloring. Start with less than you think you need. I usually use about 1/2 teaspoon of gel coloring for a nice vibrant color in my gender reveal cake. Mix until the color is even throughout.
7. Bake and Cross Your Fingers Divide batter evenly between your pans (I use a kitchen scale for this because I’m obsessive like that). Bake for 25-30 minutes, or until a toothpick comes out clean. Don’t open the oven door for at least 20 minutes – I learned this lesson when my gender reveal cake collapsed like a sad soufflé.
8. Cool Completely Let the cakes cool in the pans for 10 minutes, then turn out onto wire racks. This is the hardest part because you want to see how the color turned out, but hot cake crumbles. Be patient.
Making the Neutral Frosting
While your gender reveal cake layers cool, make the frosting. Beat butter until fluffy (about 2 minutes), then gradually add powdered sugar. Add cream, vanilla, and salt. Beat until smooth and spreadable.
I always make white or light yellow frosting for the outside because the whole point of a gender reveal cake is the surprise inside, right? Though I did see someone do a beautiful ombre effect once – blue outside for a boy, fading to white. Very fancy.
Assembly and The Big Reveal
Place one layer on your serving plate. Add a thin layer of frosting on top, then place the second layer. Frost the whole thing with your neutral frosting. Make it pretty – this is going on social media, after all!
The moment of truth comes when you cut that first slice of gender reveal cake. I always tell people to cut from the center and lift the piece out slowly. The looks on everyone’s faces when they see that bright pink or blue? Priceless every single time.
What I’ve Learned Making Gender Reveal Cakes
After making probably a dozen of these cakes creations, here’s what I know: the cake doesn’t have to be perfect. It just has to work. I’ve had layers that were slightly lopsided, frosting that wasn’t Instagram-smooth, and colors that were more pastel than vibrant. But every single gender reveal cake created a perfect moment for the parents-to-be.
Also, have a backup plan. I once had a gender reveal cake crack down the middle (thanks to my genius decision to remove it from the pan while still warm), and we just called it a “dramatic reveal” when the color showed through the crack. Everyone laughed, and it made for an even better story.
Storage and Make-Ahead Tips
You can make this gender reveal cake up to two days ahead. Wrap the cooled layers tightly in plastic wrap and store at room temperature. Don’t frost it until the day you plan to serve it, though – the frosting can get a little sad-looking after sitting around.
If you’re really organized (unlike me most of the time), you can even freeze the layers for up to a month. Just thaw them overnight before frosting your gender reveal cake.

Final Thoughts on Gender Reveal Cakes
Making a gender reveal cake is about more than just baking – you’re creating a memory. Yes, it’s a little stressful keeping the secret, and yes, you’ll probably worry about whether the color will show up right. But when you see the joy on the parents’ faces when they cut into that cake? All the measuring and mixing and food coloring mishaps are worth it.
So go ahead, give this gender reveal cake recipe a try. And if you mess up the first time (like I did), just try again. The best gender reveal cake is the one made with love, even if it’s not perfect. Trust me, they’ll remember the moment, not whether your frosting technique was flawless.
Happy baking, and may your kitchen stay relatively food-coloring-free! 🎂
Gender Reveal Cake
A moist and colorful gender reveal cake with vibrant pink or blue layers hidden inside neutral frosting. Perfect for announcing your baby's gender with a delicious surprise.
Ingredients
- 2 1/2 cups all-purpose flour
- 1 1/2 cups granulated sugar
- 1/2 cup unsalted butter, softened
- 1/4 cup vegetable oil
- 4 large eggs, room temperature
- 1 cup whole milk
- 2 teaspoons vanilla extract
- 2 1/2 teaspoons baking powder
- 1/2 teaspoon salt
- 1/3 cup sour cream
- Gel food coloring (pink or blue)
- 1 cup unsalted butter, softened (for frosting)
- 4 cups powdered sugar
- 1/4 cup heavy cream
- 2 teaspoons vanilla extract (for frosting)
- Pinch of salt (for frosting)
Instructions
-
Step 1Preheat oven to 350°F. Grease two 9-inch round pans and line with parchment paper.
-
Step 2Whisk together flour, baking powder, and salt in a medium bowl. Set aside.
-
Step 3Cream butter and sugar in stand mixer until light and fluffy, about 3-4 minutes.
-
Step 4Beat in eggs one at a time, then add oil and vanilla extract.
-
Step 5Alternate adding flour mixture and milk, starting and ending with flour. Mix until just combined.
-
Step 6Fold in sour cream, then add gel food coloring until evenly distributed.
-
Step 7Divide batter evenly between prepared pans and bake for 25-30 minutes until toothpick comes out clean.
-
Step 8Cool in pans 10 minutes, then turn out onto wire racks to cool completely.
-
Step 9For frosting: Beat butter until fluffy, gradually add powdered sugar, then cream, vanilla, and salt.
-
Step 10Assemble cake with thin frosting layer between layers, then frost entire outside with neutral frosting.