
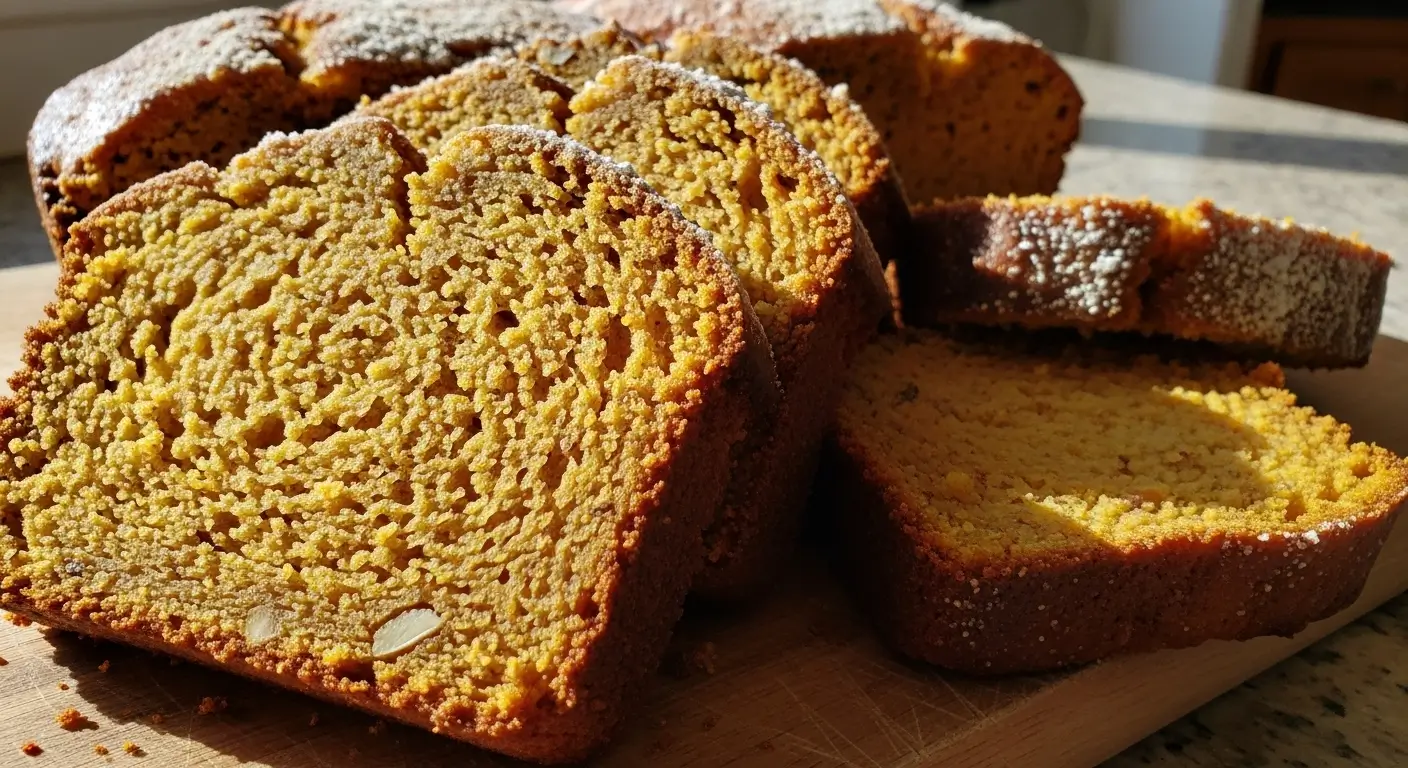
Gluten free pumpkin bread – okay, I need to start with a confession. I tried making this like six times before I got something that didn’t taste like cardboard mixed with disappointment. But now? My gluten-eating friends literally fight over the last slice, and they have no clue it’s gluten-free until I tell them.
Look, I went gluten-free about two years ago (long story involving a very unhappy digestive system), and honestly, most gluten free pumpkin bread recipes out there are just… sad. They’re either crumbly messes that fall apart when you look at them wrong, or they’re so dense you could use them as doorstops.
But this gluten free pumpkin bread? This one’s different. It’s actually moist – I know, I know, everyone hates that word, but there’s literally no better way to describe it. It’s got that perfect fall spice blend that makes your kitchen smell like a Yankee Candle store, but in the best possible way.
How I Accidentally Became the Gluten Free Pumpkin Bread Queen
So here’s how this whole gluten free pumpkin bread obsession started. Last October, I was desperately craving pumpkin bread – like, wake-up-at-3am-thinking-about-it level craving. But every recipe I found was either regular flour (nope) or called for some weird flour blend that cost more than my monthly Netflix subscription.
My first attempt at gluten free pumpkin bread was… well, let’s just say even my garbage disposal rejected it. I used straight almond flour because that’s all I had, and the result was this weird, oily, dense brick that barely qualified as food. My husband took one bite and said, “Honey, I love you, but this tastes like autumn depression.”
That’s when I got mad. And when I get mad about food, I become incredibly stubborn. I was going to figure out this gluten free pumpkin bread thing if it killed me. Spoiler alert: it almost did. My kitchen looked like a flour bomb had exploded, and I went through more pumpkin puree than should be legal.
The Great Gluten Free Flour Experiment (AKA My Kitchen Nightmare)
Here’s what nobody tells you about gluten free pumpkin bread – the flour blend is EVERYTHING. I mean everything. You can’t just substitute cup-for-cup and hope for the best. Trust me, I tried that approach, and it led to what I now call “The Great Pumpkin Disaster of 2024.”
I probably tested fifteen different flour combinations for this gluten free pumpkin bread before landing on the perfect mix. Brown rice flour for structure, tapioca starch for chewiness, and a little bit of almond flour for richness. The xanthan gum was the game-changer though – without it, your gluten free pumpkin bread will literally crumble into sad, orange dust.
And here’s a weird discovery I made by accident: letting the batter sit for about 10 minutes before baking makes a huge difference in texture. I figured this out when my toddler had a meltdown right as I was about to put the bread in the oven. By the time I dealt with the chaos and got back to my gluten free pumpkin bread, the batter had thickened up, and the final result was so much better.
Shopping for This Gluten Free Pumpkin Bread (Without Going Broke)
Okay, real talk about ingredients for gluten free pumpkin bread – it can get expensive fast if you’re not careful. But here’s what I’ve learned after way too many grocery store trips:
First, don’t buy those pre-made gluten-free flour blends. They’re like $8 for a tiny bag, and half the time they don’t even work well for baking. Buy your flours in bulk if possible. I get my brown rice flour and tapioca starch from the bulk bins at Whole Foods, and it’s literally half the price.
For the pumpkin puree in this gluten free pumpkin bread, please, PLEASE don’t use pumpkin pie filling. I made that mistake exactly once, and the result was so sweet it gave me a headache. Just get the plain pumpkin puree – Libby’s is fine, or if you’re feeling fancy, roast your own pumpkin. But honestly, canned is easier and works perfectly for this gluten free pumpkin bread.
Oh, and here’s something I learned the hard way – check the expiration date on your spices. I once made this entire gluten free pumpkin bread with cinnamon that was probably older than my marriage. The bread looked perfect, smelled amazing, and tasted like… nothing. Well, sweet nothing. It was tragic.
Actually Making This Gluten Free Pumpkin Bread (The Fun Part)
Dry Ingredients:
- 1½ cups brown rice flour
- ½ cup tapioca starch
- ¼ cup almond flour
- 1 tsp xanthan gum (don’t skip this!)
- 1 tsp baking soda
- ½ tsp salt
- 1½ tsp cinnamon
- ½ tsp nutmeg
- ¼ tsp ground cloves
- ¼ tsp ginger
Wet Ingredients:
- 1 can (15 oz) pumpkin puree
- ½ cup vegetable oil (or melted coconut oil)
- 2 large eggs
- ¾ cup brown sugar
- ¼ cup maple syrup
- 2 tsp vanilla extract
- ⅓ cup water
Optional Add-ins (because life is short):
- ½ cup chocolate chips
- ½ cup chopped pecans
- ½ cup dried cranberries
Now, here’s where I always mess up if I’m not careful – preheat your oven to 350°F FIRST. I cannot tell you how many times I’ve had perfect gluten free pumpkin bread batter sitting there while I waited 15 minutes for my oven to heat up. Just… start with the oven, okay?
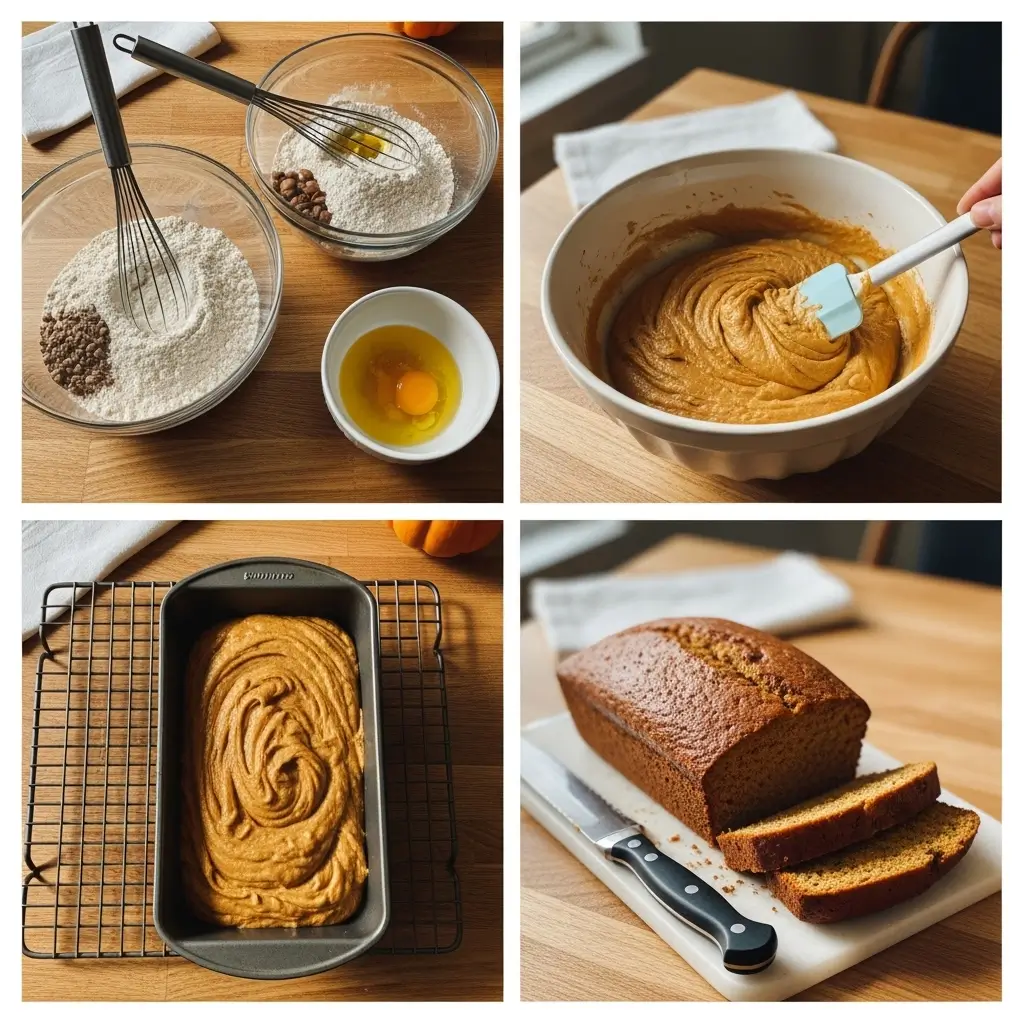
Step 1: Line a 9×5 inch loaf pan with parchment paper. Don’t just grease it – trust me on this. Gluten free pumpkin bread can be sticky, and you’ll want to be able to lift it out easily.
Step 2: In a large bowl, whisk together all your dry ingredients. Make sure that xanthan gum is well distributed – nobody wants gummy spots in their gluten free pumpkin bread.
Step 3: In another bowl, mix your pumpkin puree, oil, eggs, brown sugar, maple syrup, and vanilla. The mixture should be smooth and well combined. If your oil is coconut oil and it’s solidified, warm it slightly first.
Step 4: Pour the wet ingredients into the dry ingredients and stir until just combined. The batter will be thick – thicker than regular pumpkin bread batter. This is normal for gluten free pumpkin bread, don’t panic.
Step 5: Add your water and mix until the batter is smooth. This is where the magic happens – the batter should be pourable but not too thin.
Step 6: Let the batter sit for 10 minutes. Go make coffee, check your phone, pet your cat – whatever. Just let it sit. This helps the flours hydrate and makes your gluten free pumpkin bread so much better.
Step 7: Fold in any add-ins if you’re using them. I’m personally team chocolate chips, but pecans are pretty amazing too.
Step 8: Pour the batter into your prepared pan and smooth the top. It’ll look a little rough, and that’s totally fine.
The Waiting Game (AKA Don’t Open That Oven Door!)
Here’s where patience becomes crucial with gluten free pumpkin bread. Bake for 55-65 minutes, and for the love of all that is holy, DO NOT open the oven door for the first 45 minutes. I know it smells amazing. I know you want to check on it. Don’t do it. Gluten free pumpkin bread is more sensitive to temperature changes than regular bread.
The bread is done when a toothpick inserted in the center comes out with just a few moist crumbs. The top should be golden brown and spring back lightly when touched. If it’s getting too brown but isn’t done in the middle, tent it with foil for the last 10-15 minutes.
Let it cool in the pan for about 15 minutes, then use the parchment paper to lift it out onto a wire rack. This is so important – if you try to slice gluten free pumpkin bread while it’s still warm, it’ll fall apart. I learned this lesson by destroying an otherwise perfect loaf in my excitement to taste it.
What I’ve Learned About Gluten Free Pumpkin Bread Storage
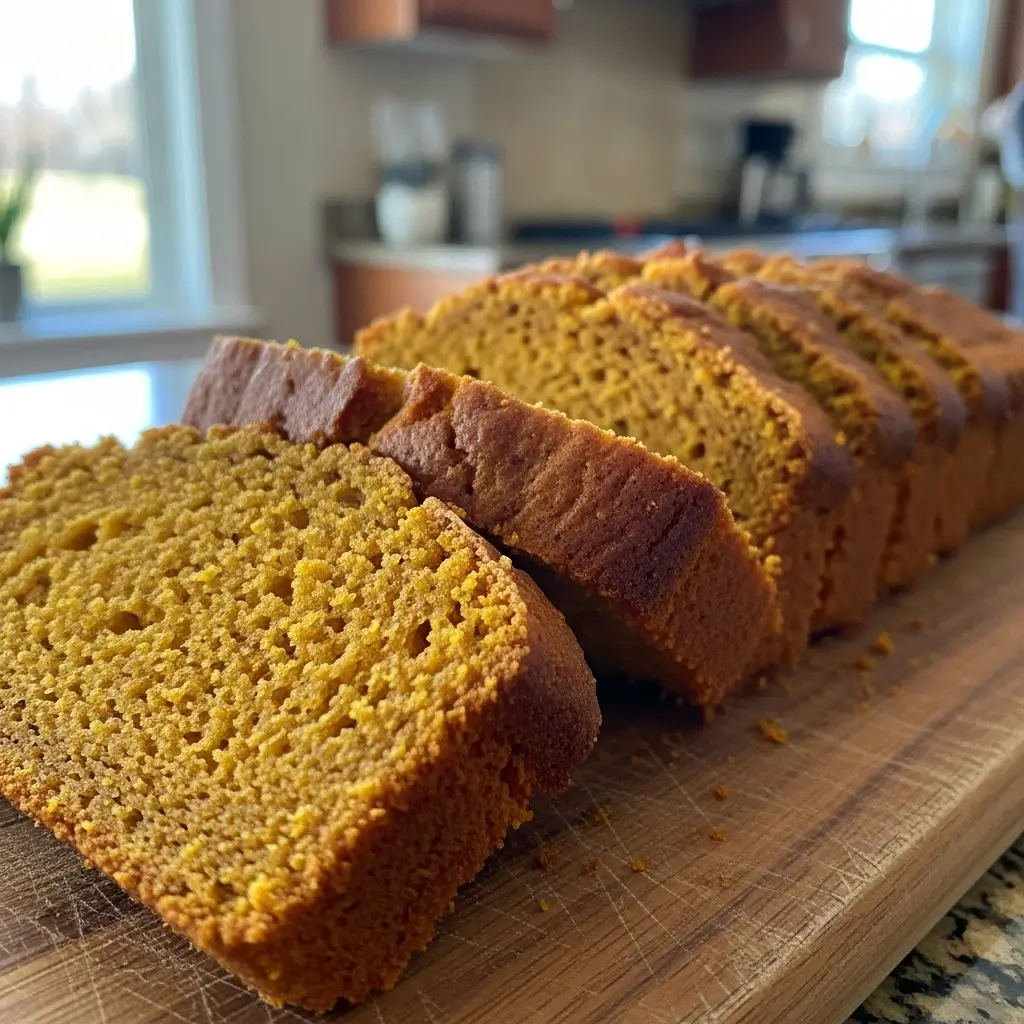
Here’s something weird I discovered about gluten free pumpkin bread – it actually gets better after sitting for a day. I know, counterintuitive, right? But the flavors meld together, and the texture becomes even more tender.
Store your gluten free pumpkin bread wrapped tightly in plastic wrap at room temperature for up to 4 days. It also freezes beautifully – just wrap individual slices and pop them in the freezer. Perfect for those random Tuesday morning cravings.
And here’s a pro tip: if your gluten free pumpkin bread starts to dry out (which can happen faster than regular bread), toast it lightly and spread with butter or cream cheese. It’s like getting a completely new dessert.
Troubleshooting Your Gluten Free Pumpkin Bread Disasters
Because let’s be real, gluten-free baking can be temperamental, and I’ve made every possible mistake with this gluten free pumpkin bread recipe:
If your bread is too crumbly, you probably need more xanthan gum next time, or your flour blend might be off. If it’s too dense, you might have overmixed the batter or used too much flour. If it’s gummy in spots, your xanthan gum wasn’t distributed evenly.
The most important thing I learned about gluten free pumpkin bread is that it’s more forgiving than you think. Even my “failed” attempts were usually still edible (except for that first almond flour disaster – we don’t talk about that one).
Actually, you know what? Try this recipe and let me know if you have any disasters or victories. I’m always curious to hear how other people’s gluten free pumpkin bread adventures go, especially if you discover any improvements I haven’t thought of yet.
Happy baking! (And may your bread rise properly and your kitchen smell like fall magic!)
check also this : The Best Chocolate Chip Pumpkin Bread (That Actually Tastes Like Fall)
Table of Contents
The Best Gluten Free Pumpkin Bread
Incredibly moist and flavorful gluten-free pumpkin bread that tastes just like the traditional version. Made with a perfect blend of gluten-free flours and warm fall spices, this recipe produces a tender, non-crumbly loaf that even gluten-eaters will love.
Ingredients
- 1½ cups brown rice flour
- ½ cup tapioca starch
- ¼ cup almond flour
- 1 tsp xanthan gum
- 1 tsp baking soda
- ½ tsp salt
- 1½ tsp ground cinnamon
- ½ tsp ground nutmeg
- ¼ tsp ground cloves
- ¼ tsp ground ginger
- 1 can (15 oz) pumpkin puree
- ½ cup vegetable oil or melted coconut oil
- 2 large eggs
- ¾ cup brown sugar
- ¼ cup maple syrup
- 2 tsp vanilla extract
- ⅓ cup water
- ½ cup chocolate chips or chopped pecans (optional)
Instructions
-
Step 1Preheat oven to 350°F (175°C). Line a 9x5 inch loaf pan with parchment paper.
-
Step 2In a large bowl, whisk together brown rice flour, tapioca starch, almond flour, xanthan gum, baking soda, salt, and all spices until well combined.
-
Step 3In another bowl, mix pumpkin puree, oil, eggs, brown sugar, maple syrup, and vanilla extract until smooth.
-
Step 4Pour wet ingredients into dry ingredients and stir until just combined. The batter will be thick.
-
Step 5Add water and mix until batter is smooth and pourable.
-
Step 6Let batter rest for 10 minutes to allow flours to hydrate.
-
Step 7Fold in chocolate chips or nuts if using.
-
Step 8Pour batter into prepared loaf pan and smooth the top.
-
Step 9Bake for 55-65 minutes, or until a toothpick inserted in center comes out with just a few moist crumbs.
-
Step 10Cool in pan for 15 minutes, then remove using parchment paper and cool completely on wire rack before slicing.