
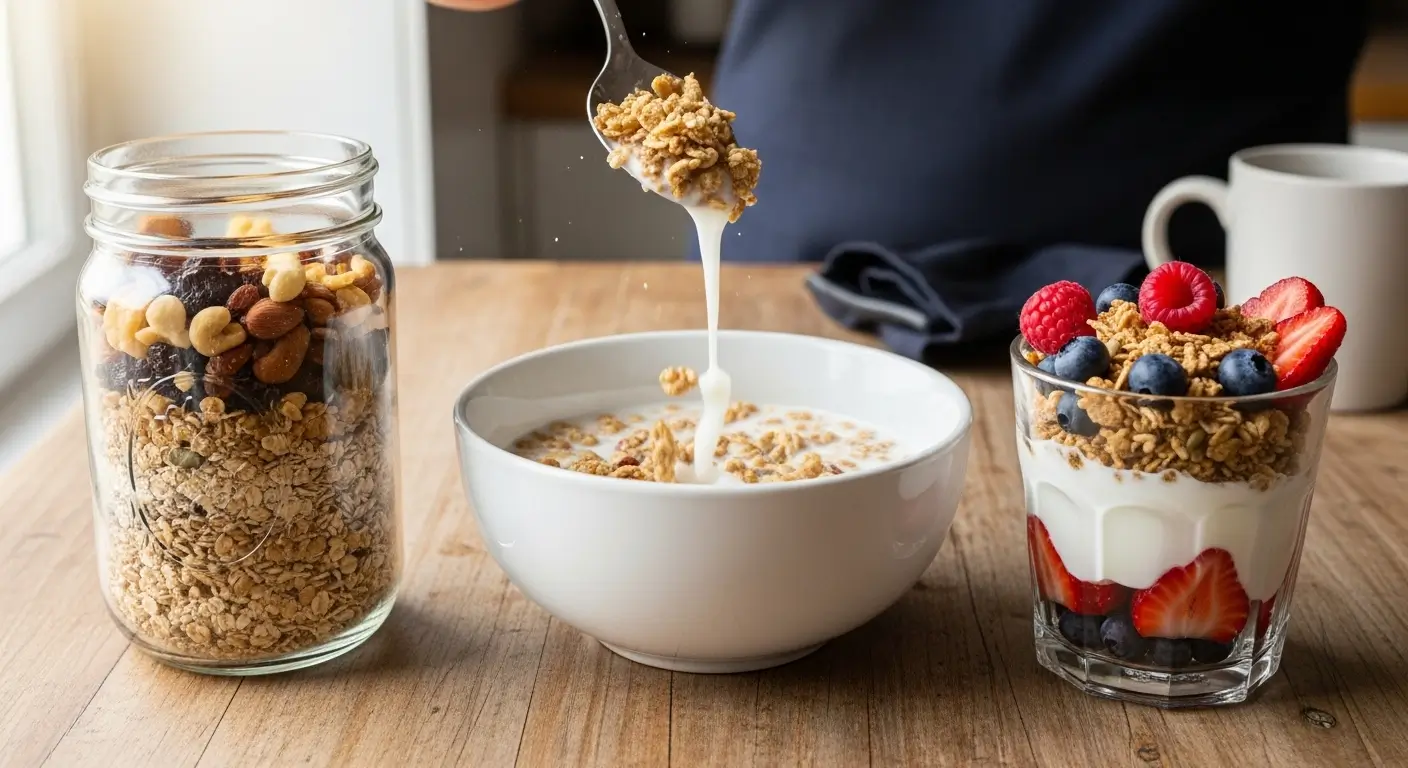
Homemade protein cereal was one of those things I never thought I’d actually make until my gym buddy Jake wouldn’t stop raving about his version. And honestly? I was skeptical. Like, really skeptical. But after spending way too much money on those fancy store-bought protein cereals that taste like cardboard mixed with sadness, I figured I had nothing to lose.
Three months later, I’m completely obsessed with this homemade protein cereal recipe. My kids think I’ve lost my mind because I get genuinely excited about breakfast now. But here’s the thing – this actually tastes good. Not “good for a healthy cereal” but legitimately delicious.
How I Discovered This Recipe (It’s a Mess)
So this whole thing started because my usual protein cereal brand got discontinued. Typical, right? Of course they’d stop making the ONE protein cereal that didn’t taste like punishment. I was complaining about it to my neighbor Sarah, and she mentioned that her brother (who’s some sort of nutrition nerd) makes his own.
I thought she was crazy. Who has time to make cereal from scratch? But then I calculated how much I was spending on the store-bought stuff. Yikes. That was my wake-up call.
The first three attempts were disasters. Complete disasters. Version 1.0 turned into these weird, chewy pellets that my dog wouldn’t even eat. Version 2.0 burned because I got distracted by a phone call from my mom (classic mom timing). Version 3.0 was so bland that I questioned all my life choices.
But version 4.0? That’s when everything clicked. And now I’m sharing this homemade protein cereal recipe with anyone who’ll listen because it’s genuinely changed how I feel about mornings.
Why This Homemade Protein Cereal Works
Look, I’m gonna be honest – I’ve tried a lot of healthy breakfast swaps over the years. Most of them end up forgotten in my pantry after a week. But this homemade protein cereal is different because it actually satisfies that cereal craving we all have sometimes.
The key is getting the right balance of protein, crunch, and sweetness without making it taste like a health food punishment. This homemade protein cereal recipe gives you about 25 grams of protein per serving, which is more than most of those expensive store brands.
Plus, you know exactly what’s going into it. No weird preservatives or ingredients I can’t pronounce. Just real food that happens to be really good for you.
The Ingredients (And My Shopping Disasters)
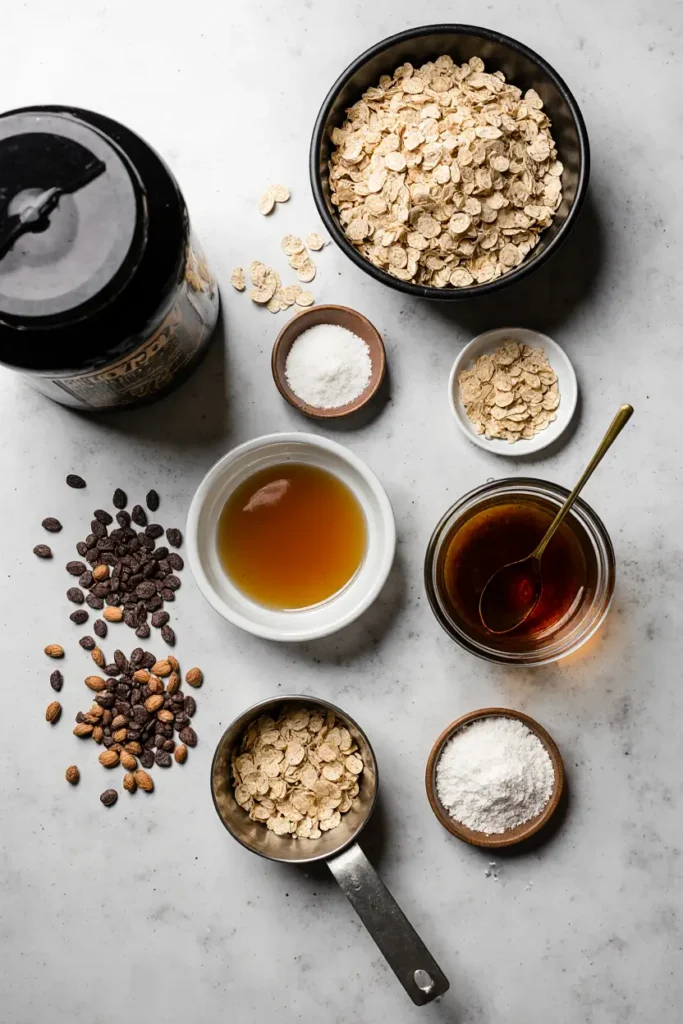
Here’s what you need for this homemade protein cereal. I’ve learned some things the hard way, so pay attention to my notes:
For the Base:
- 2 cups old-fashioned rolled oats (not quick oats – learned this lesson when everything turned to mush)
- 1 cup vanilla protein powder (I use whey, but plant-based works too)
- 1/2 cup almond flour
- 1/4 cup coconut flour
- 1/3 cup honey or maple syrup
- 2 tablespoons coconut oil, melted
- 1 teaspoon vanilla extract
- 1/2 teaspoon cinnamon
- 1/4 teaspoon salt
For the Mix-ins:
- 1/4 cup mini dark chocolate chips (because life’s too short)
- 1/4 cup chopped almonds or pecans
- 2 tablespoons chia seeds (optional, but I like the extra crunch)
Shopping Notes: Don’t buy protein powder you’ve never tried before making a huge batch of this homemade protein cereal. I made that mistake with some chalky vanilla powder that ruined an entire batch. Stick with brands you know taste good in smoothies.
Also, good luck finding decent coconut oil that doesn’t cost a fortune. I just buy the generic stuff from Costco now. Works fine and doesn’t break the bank.
Making Your Homemade Protein Cereal (The Real Talk Version)
Step 1: Preheat your oven to 300°F. Line a big baking sheet with parchment paper. Don’t skip the parchment – I’ve scraped too many burned cereal bits off bare pans.
Step 2: In a large bowl, mix all your dry ingredients except the chocolate chips and nuts. This is where the magic starts for your homemade protein cereal. The mixture will look like some sort of protein sand. That’s normal.
Step 3: In a smaller bowl, whisk together the honey (or maple syrup), melted coconut oil, and vanilla. Here’s where I always mess up – make sure the coconut oil isn’t too hot or it’ll cook the other ingredients. Learned that one the hard way.
Step 4: Pour the wet ingredients over the dry mix and stir until everything’s coated. It should feel slightly sticky but not wet. If it’s too dry, add a tiny bit more honey. Too wet? Add a sprinkle more oats.
Step 5: Spread this homemade protein cereal mixture evenly on your baking sheet. Try to break up any big clumps, but don’t obsess over it. Some clumps are actually nice for texture.
Step 6: Bake for 15 minutes, then stir everything around (this prevents burning), then bake another 10-15 minutes until it’s golden brown and smells amazing. Your kitchen will smell like the best health food store ever.
Step 7: Let it cool completely on the pan. This is crucial for getting that perfect crunch in your homemade protein cereal. I know it’s tempting to taste it right away (I always do), but it gets crunchier as it cools.
Step 8: Once cool, stir in the chocolate chips and nuts. Store in an airtight container for up to two weeks. Mine never lasts that long.
My Random Discoveries and Tips
After making this homemade protein cereal probably fifty times now, I’ve figured out some tricks:
The chia seeds are optional, but they add this weird satisfying crunch that I’ve become addicted to. Plus they make me feel extra healthy, which is probably just psychological but whatever works.
If you’re making this for kids, you can totally increase the chocolate chips. My 8-year-old went from refusing to eat anything that wasn’t Lucky Charms to asking for this homemade protein cereal specifically. Parenting win.
Don’t use quick oats. Just don’t. I tried it once when I ran out of regular oats and the texture was all wrong. It turned into these weird chewy bits that nobody enjoyed.
Speaking of oats – buy them in bulk if you’re going to make this regularly. This homemade protein cereal recipe has become such a staple in our house that I go through oats like crazy now.
How I Actually Eat This
Most mornings, I just pour some of this homemade protein cereal into a bowl with cold almond milk like regular cereal. It’s crunchy, sweet, and actually fills me up until lunch. Revolutionary concept, right?
But sometimes I get fancy with it:
- Sprinkle it over Greek yogurt with berries (very Instagram-worthy)
- Eat it dry as a snack (don’t judge me)
- Mix it into smoothie bowls for extra crunch
- My neighbor puts it on ice cream, which seems wrong but also tempting
The best part is that this homemade protein cereal doesn’t get soggy immediately like some cereals do. You actually have time to eat it without it turning into mush.
The Real Talk About Nutrition
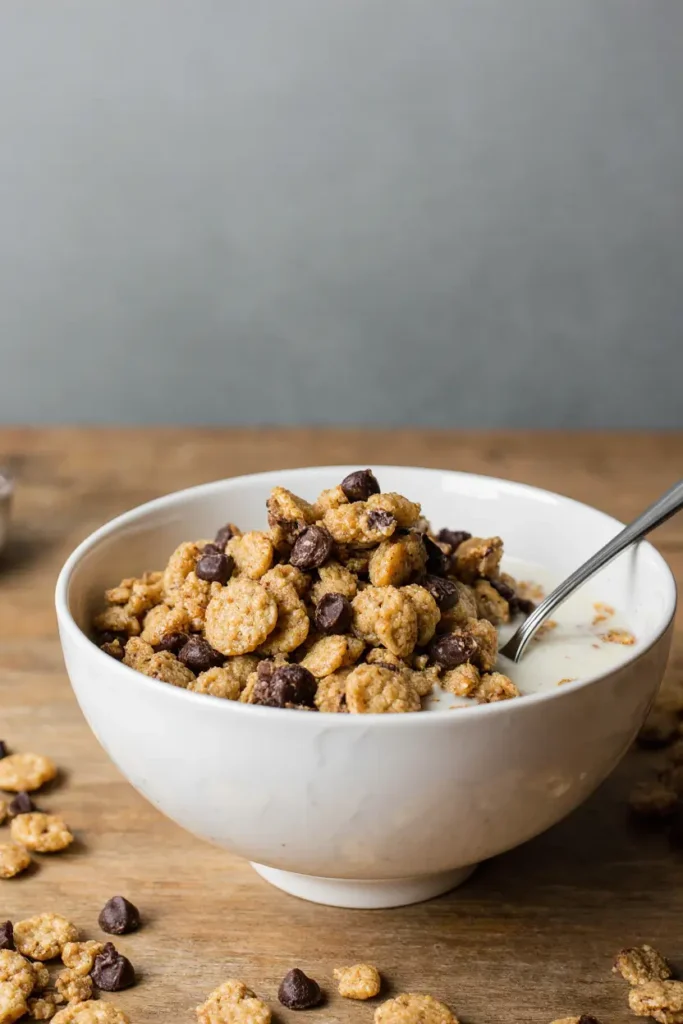
I’m not a nutritionist, but I can do basic math. One serving of this homemade protein cereal (about 3/4 cup) gives you around 25 grams of protein, decent fiber, and way less sugar than most regular cereals. Plus it actually keeps you full.
For reference, my old go-to breakfast of whatever cereal was on sale had me starving by 10 AM and reaching for whatever snacks were lying around. This homemade protein cereal actually sustains me, which is probably why I’m not constantly thinking about food by mid-morning anymore.
My Failures (So You Don’t Have To)
Let me save you some trouble by sharing what doesn’t work:
Don’t double the recipe on your first try. I got ambitious once and made a huge batch that didn’t fit properly on my baking sheet. Half of it burned while the other half stayed raw. Disaster.
Don’t substitute all the honey for artificial sweetener. I tried this during a “clean eating” phase and it tasted like disappointment. A little honey or maple syrup is worth it for actually enjoying your breakfast.
Also, don’t try to make this homemade protein cereal when you’re in a hurry. It needs attention during the baking process, and distracted baking leads to burned cereal. Ask me how I know.
Storage and Meal Prep
This homemade protein cereal stays crunchy in an airtight container for about two weeks. I usually make a batch every Sunday and portion it into mason jars for easy grab-and-go breakfasts during the week.
Pro tip: if you’re meal prepping, you can pre-portion the cereal with some freeze-dried berries in containers. Just add milk when you’re ready to eat. Game changer for busy mornings.
I’ve also started making double batches because my husband keeps stealing mine. Apparently this homemade protein cereal is addictive to more than just me.
Final Thoughts
Look, I never thought I’d be the person writing about homemade protein cereal recipes on the internet, but here we are. This stuff has genuinely made my mornings better, and I’m not just saying that because I spent time writing this whole thing.
It’s not fancy, it’s not Instagram-perfect, but it tastes good and makes me feel good. Sometimes that’s all you need from a recipe.
Try it out and let me know how yours turns out! Seriously, I’m always curious about what variations people come up with. And if you burn your first batch like I did, don’t give up. Version 2.0 will be better.
Happy cooking! (And may your homemade protein cereal turn out crunchier than mine did on attempt number one.)
try also these protein balls recipe , they are so good for you if you are looking for high protein recipes : The Ultimate Oreo Protein Balls That Actually Taste Good (Not Like Cardboard)
Homemade Protein Cereal
A delicious homemade protein cereal recipe that provides 25g of protein per serving. Crunchy, sweet, and satisfying breakfast that tastes better than store-bought versions and costs less to make.
Ingredients
- 2 cups old-fashioned rolled oats
- 1 cup vanilla protein powder
- 1/2 cup almond flour
- 1/4 cup coconut flour
- 1/3 cup honey or maple syrup
- 2 tablespoons coconut oil, melted
- 1 teaspoon vanilla extract
- 1/2 teaspoon cinnamon
- 1/4 teaspoon salt
- 1/4 cup mini dark chocolate chips
- 1/4 cup chopped almonds or pecans
- 2 tablespoons chia seeds (optional)
Instructions
-
Step 1Preheat oven to 300°F. Line a large baking sheet with parchment paper.
-
Step 2In a large bowl, mix oats, protein powder, almond flour, coconut flour, cinnamon, and salt.
-
Step 3In a smaller bowl, whisk together honey, melted coconut oil, and vanilla extract.
-
Step 4Pour wet ingredients over dry ingredients and stir until everything is evenly coated.
-
Step 5Spread mixture evenly on the prepared baking sheet, breaking up large clumps.
-
Step 6Bake for 15 minutes, then stir and bake another 10-15 minutes until golden brown.
-
Step 7Let cool completely on the baking sheet for maximum crunchiness.
-
Step 8Stir in chocolate chips, nuts, and chia seeds if using.
-
Step 9Store in an airtight container for up to 2 weeks.