
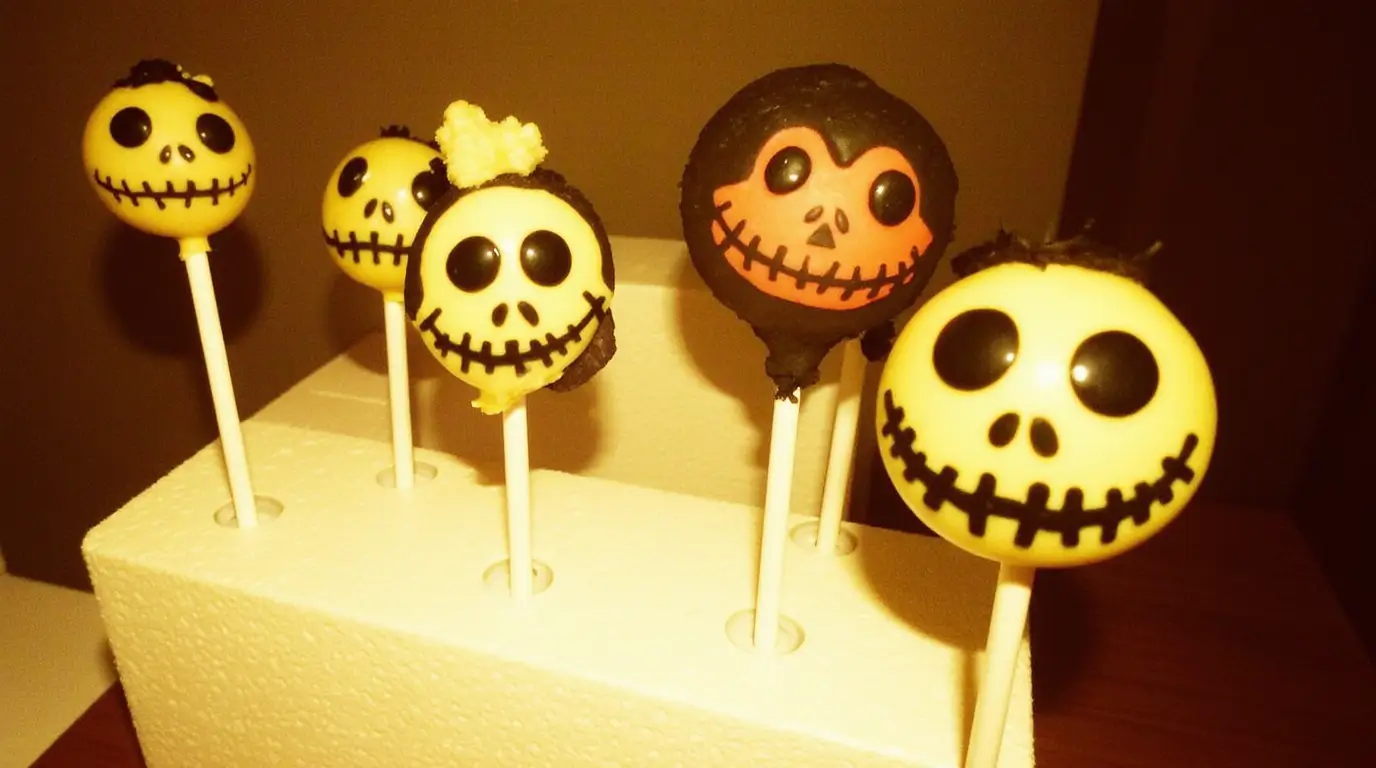
Jack Skellington Oreo pops – honestly, this whole adventure started because my teenager decided regular Halloween candy wasn’t “aesthetic” enough for her Instagram story. Apparently, I needed to step up my Halloween game. So here I am, making Jack Skellington Oreo pops at 9 PM on a Tuesday because that’s apparently what good moms do now.
But here’s the thing about Jack Skellington Oreo pops – they look way more complicated than they actually are. Once you get the hang of dipping things in chocolate without creating a complete disaster, these become surprisingly therapeutic to make. Plus, they taste infinitely better than those expensive cake pops from the coffee shop.
I’m not gonna lie though – my first batch of Jack Skellington Oreo pops looked more like sad ghosts than the Pumpkin King. My daughter took one look and said, “Mom, Jack Skellington doesn’t look constipated.” Kids these days have no filter, but she wasn’t wrong.
Table of Contents
Why These Jack Skellington Oreo Pops Actually Work
The genius of Jack Skellington Oreo pops is that Oreos are already the perfect shape and color scheme. Black cookies, white filling – it’s like they were designed for this exact purpose. You’re basically just adding some white chocolate, a stick, and some decorating skills that hopefully exceed those of a kindergartner.
Most Jack Skellington Oreo pops tutorials I found online made it look effortless. Let me tell you, it’s not effortless the first time. There’s a learning curve involving melted chocolate, proper dipping technique, and the fine art of drawing faces that don’t look like they’re having an existential crisis.
The trick to perfect Jack Skellington Oreo pops? Temperature control and patience. Two things I’m notoriously bad at, but somehow managed to figure out after creating what my husband lovingly called “chocolate-covered disasters.” He’s supportive in his own way.
My Jack Skellington Oreo Pops Fails (So You Don’t Have To)
Let me save you some heartache here. First attempt: I melted the white chocolate too hot. The Oreos basically dissolved when I dipped them. I ended up with white chocolate soup with Oreo bits floating around. Not exactly the Jack Skellington Oreo pops vibe I was going for.
Second attempt: I tried to draw the faces with a toothpick while the chocolate was still too wet. Everything just smooshed together into what looked like abstract art. My son walked by and said, “Cool aliens, Mom!” Wrong holiday, kiddo.
Third attempt was better, but I made the mistake of trying to add the faces before the white chocolate had set properly. Jack’s signature stitched smile just… slid right off. Gravity is not your friend when making Jack Skellington Oreo pops, apparently.
But by attempt four, I had it figured out. Proper chocolate temperature, correct timing, and most importantly – accepting that some of them are going to look wonky and that’s part of their charm.
Ingredients (With My Shopping Reality Check)
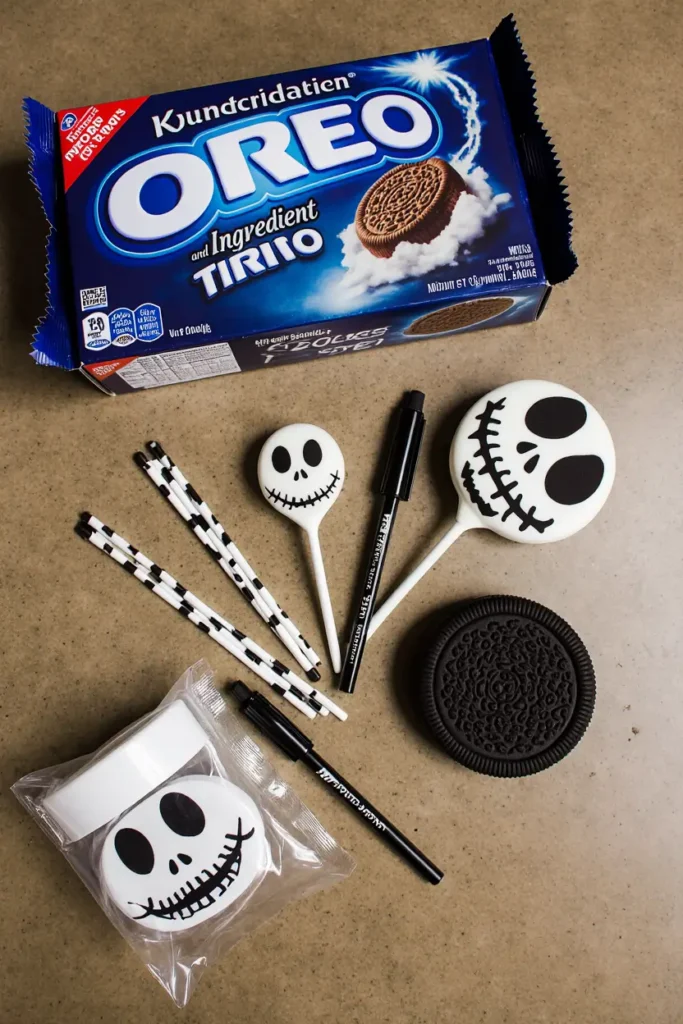
For the Jack Skellington Oreo pops:
- 1 package regular Oreos (not Double Stuf – trust me on this one)
- 1 pound white chocolate melting wafers (Ghirardelli works great, but store brand is fine)
- 24 lollipop sticks (get the paper ones, not plastic – learned this the hard way)
- Black edible marker OR black gel food coloring mixed with a tiny bit of corn syrup
Optional but recommended:
- Black ribbon for decoration (makes them look fancy)
- Styrofoam block or cake pop stand for drying
- Patience (not sold in stores, unfortunately)
The Real Instructions That Actually Work
Step 1: Line a baking sheet with parchment paper and get your drying station ready. I use a styrofoam block with holes poked in it, but you can also just lay them flat on the parchment paper. Whatever works in your kitchen situation.
Step 2: Carefully separate your Oreos. Yes, this is tedious. Yes, some will break. That’s what you get to snack on while making the rest of your Jack Skellington Oreo pops. Consider it quality control.
Step 3: Melt your white chocolate according to package directions. I use the microwave in 30-second intervals, stirring between each one. Don’t rush this part – scorched chocolate tastes awful and there’s no saving it. Been there, done that, threw it all away.
Step 4: Here’s the crucial part for perfect Jack Skellington Oreo pops – dip your lollipop stick about an inch into the melted chocolate, then insert it into the cream filling of one Oreo half. This helps it stick properly. Place it on your parchment paper and repeat with all your cookies.
Step 5: Let those set for about 10 minutes. I know, waiting is hard, but if you rush this step, your sticks will fall out when you dip them. Ask me how I know.
Step 6: Now for the fun part – dip each Oreo pop into the white chocolate, letting excess drip off. I tap the stick gently on the side of the bowl, but don’t go crazy or you’ll knock the Oreo right off the stick.
Step 7: Place them on your drying station immediately. The chocolate will start setting up fast, so work quickly but don’t panic.
Step 8: This is where patience becomes crucial for good Jack Skellington Oreo pops – let them set completely before adding faces. I’m talking at least 30 minutes. I usually make dinner while waiting because I have zero patience.
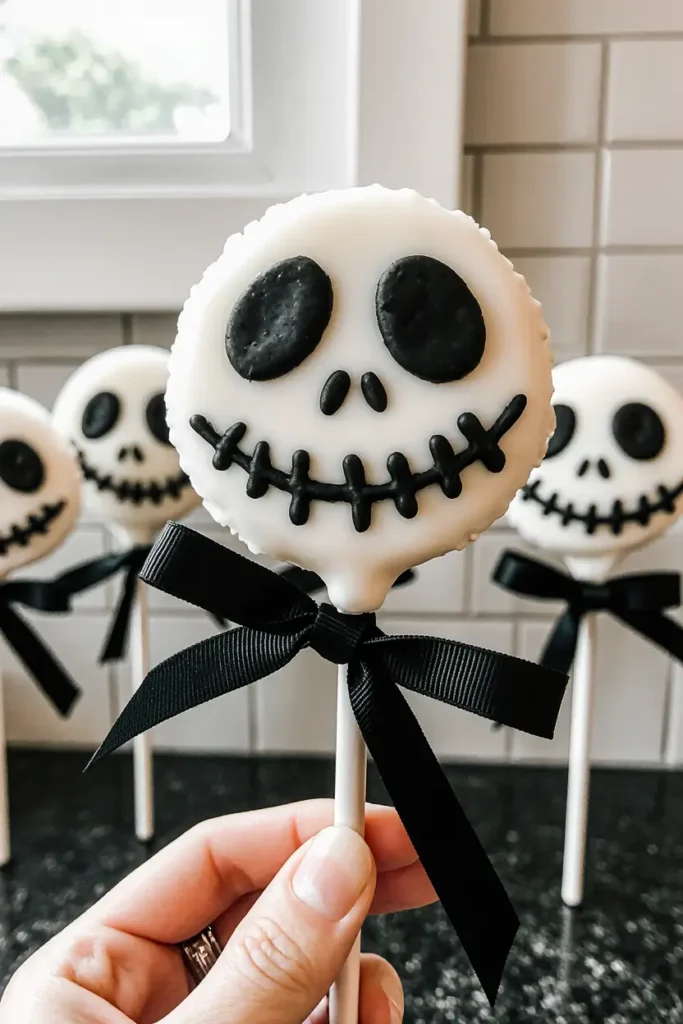
Step 9: Time for Jack’s face! Use your black edible marker to draw two oval eyes and that signature stitched smile. If you mess up, you can scrape it off gently with a knife and try again. Don’t ask how many times I’ve done this.
Pro Tips From My Many Mistakes
Temperature matters: If your kitchen is hot, pop the dipped Jack Skellington Oreo pops in the fridge for 10 minutes to help them set faster. If it’s cold, they might take longer. I learned to work with my kitchen’s moods.
Drawing faces: Start with light pressure on your edible marker. You can always go darker, but you can’t easily go lighter. Also, slightly imperfect faces actually look more authentic to Jack Skellington’s hand-stitched appearance.
Chocolate consistency: If your white chocolate gets too thick while you’re working, just pop it back in the microwave for 15-20 seconds. Stir well and keep going.
Storage: These Jack Skellington Oreo pops keep for about a week in an airtight container at room temperature. They also freeze well if you want to make them ahead for a party.
Making It Less Stressful (Because Halloween Should Be Fun)
Here’s what I wish someone had told me before I started making Jack Skellington Oreo pops: they don’t all have to be perfect. Some of Jack’s faces will be slightly crooked, some smiles will be wonkier than others, and that’s totally fine. Even in the movie, Jack has character and personality – your pops should too.
My kids actually prefer the “imperfect” ones because they look more unique. My daughter now specifically requests the “weird” Jack faces because she says they have more personality. Sometimes what you think are mistakes turn out to be features.
Involving kids: If you want to make these Jack Skellington Oreo pops with kids, give them their own set of plain white-dipped pops to decorate. They can make their own version of Jack, or create entirely different characters. Less pressure on you to make them all perfect.
The Reality of Chocolate Dipping
Let’s be real about making Jack Skellington Oreo pops – you’re going to get chocolate everywhere. Your counters, your hands, probably your shirt. I now wear my “baking clothes” which are basically old t-shirts that have seen better days.
Also, your first few pops might look rough. That’s normal! By the time you get to pop number 10, you’ll have found your rhythm. Don’t judge your skills based on the first few attempts.
And here’s something nobody tells you: the chocolate will splatter. I don’t know how, but it just does. I’ve found white chocolate drops on my ceiling. How does that even happen? It’s like baking physics defies regular physics.
Why These Beat Store-Bought Halloween Treats
Sure, you can buy Halloween cake pops at the grocery store. But have you looked at the price? These Jack Skellington Oreo pops cost a fraction of store-bought ones, and they actually taste like cookies instead of overly sweet cake mush.
Plus, there’s something satisfying about making Halloween treats that actually look recognizable. My neighbor asked if I ordered them from a bakery, which I’m choosing to take as the highest compliment possible.
The best part? These Jack Skellington Oreo pops are sturdy enough for trick-or-treat bags, pretty enough for Halloween parties, and tasty enough that adults will sneak them when they think kids aren’t looking.
Halloween Party Success (With Photographic Evidence)
Last year, I brought these Jack Skellington Oreo pops to three different Halloween events. Every single one disappeared, including the “practice batch” that I thought looked terrible. Apparently, terrible to me still looked impressive to everyone else.
The kids loved them, but honestly, the adults were just as excited. There’s something about a well-executed Jack Skellington face that makes people happy. Maybe it’s nostalgia for The Nightmare Before Christmas, or maybe it’s just appreciation for homemade treats that actually look like what they’re supposed to be.
Pro tip for parties: Make extras. I repeat, make extras. These Jack Skellington Oreo pops disappear faster than regular Halloween candy, and you’ll want some for yourself after putting in all that work.
Final Thoughts (And Why I Keep Making These)
Are Jack Skellington Oreo pops time-consuming? Yes. Will you question your life choices while trying to draw the fifteenth tiny stitched smile? Probably. But are they worth it when you see kids (and adults) light up when they see them? Absolutely.
My teenager, the one who started this whole Jack Skellington Oreo pops journey, now helps me make them every year. We’ve turned it into a tradition, complete with The Nightmare Before Christmas playing in the background and way too much white chocolate consumption during the process.
These have become my signature Halloween treat, and I’m okay with that. Sometimes you accidentally become “the mom who makes those amazing Jack pops,” and honestly, there are worse reputations to have.
Happy Halloween baking! May your chocolate be perfectly tempered and your Jack faces be recognizably spooky. 🎃💀
check out this Vegan Blueberry Ghost Hand Pies That’ll Haunt Your Taste Buds (In the Best Way) for your inspiration!
Jack Skellington Oreo Pops
Easy Jack Skellington Oreo pops perfect for Halloween parties and trick-or-treat. White chocolate-dipped Oreos on sticks decorated with Jack's signature face. Step-by-step tutorial with chocolate dipping tips and decorating techniques.
Ingredients
- 1 package regular Oreos
- 1 pound white chocolate melting wafers
- 24 lollipop sticks
- Black edible marker
- Black ribbon for decoration (optional)
Instructions
-
Step 1Line baking sheet with parchment paper and prepare drying station with styrofoam block or flat surface.
-
Step 2Carefully separate Oreo cookies into individual halves, keeping cream filling intact on one side.
-
Step 3Melt white chocolate in microwave in 30-second intervals, stirring between each interval until smooth.
-
Step 4Dip lollipop stick 1 inch into melted chocolate, then insert into cream filling of Oreo half. Place on parchment paper.
-
Step 5Let sticks set for 10 minutes to ensure they stay attached during dipping.
-
Step 6Dip each Oreo pop into white chocolate, allowing excess to drip off. Place immediately on drying station.
-
Step 7Allow white chocolate to set completely, about 30 minutes, before decorating.
-
Step 8Use black edible marker to draw Jack's face: two oval eyes and signature stitched smile on each pop.
-
Step 9Optional: Tie black ribbon bows around sticks for extra decoration. Store in airtight container.