
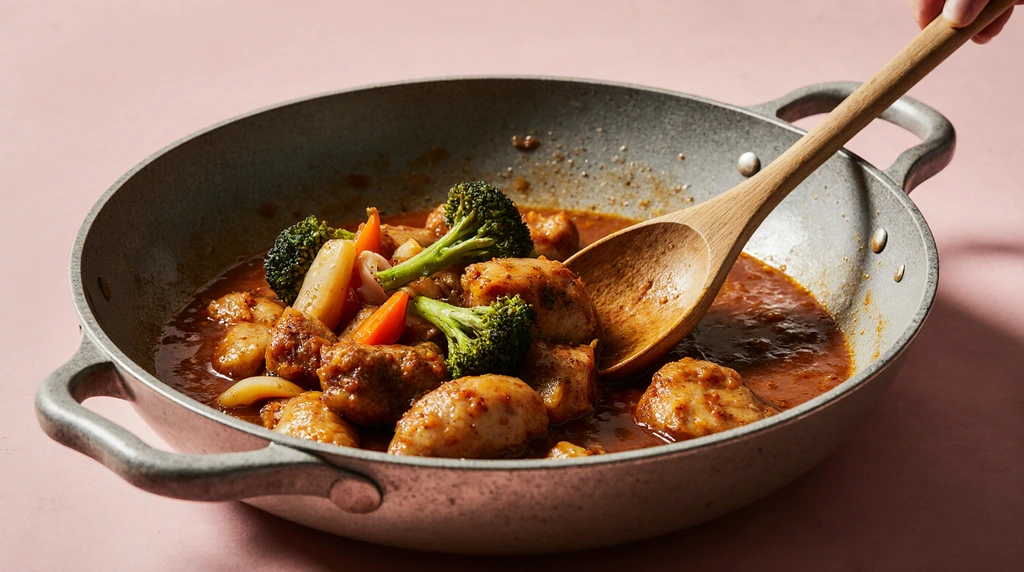
Sweet and sour chicken – okay, I need to confess something right off the bat. I was terrified to make this at home for the longest time because every sweet and sour chicken I’d ever attempted looked like a Pinterest fail and tasted like sugary sadness. But now? My family won’t even order Chinese takeout anymore because they say my homemade sweet and sour chicken is better.
I know, I know, that sounds like total mom bragging, but I swear it’s true. My 10-year-old literally told his teacher that his mom makes “restaurant chicken” at home, and when she asked what he meant, he said “you know, the orange stuff with pineapples.” That’s when I knew my sweet and sour chicken game was officially on point.
The thing about sweet and sour chicken is that it seems so complicated when you’re staring at a menu, but once you break it down, it’s basically just chicken with a really good sauce. And here’s the secret nobody tells you about homemade sweet and sour chicken – the sauce is where all the magic happens, and it’s actually way easier than you think.
How I Conquered My Sweet and Sour Chicken Fear
So my sweet and sour chicken journey started about three years ago when my husband got this weird craving for it during a snowstorm. All the Chinese places were closed, we had a house full of cranky kids, and I was staring at some chicken thighs in my freezer thinking, “How hard can sweet and sour chicken really be?”
Spoiler alert: my first attempt at sweet and sour chicken was a disaster. I found some recipe online that called for like fifteen ingredients I didn’t have, including something called “rice wine vinegar” that I was pretty sure didn’t exist in my small-town grocery store. The result was this weird, gloppy mess that tasted like ketchup mixed with disappointment.
But I’m stubborn, especially when it comes to food, so I kept trying different sweet and sour chicken recipes until I figured out what actually works. Turns out, you don’t need fancy ingredients or complicated techniques. You just need to understand the basic sweet and sour chicken formula, and then everything else falls into place.
The Sweet and Sour Chicken Sauce That Changed Everything
Here’s what I learned about this recipe after probably ten failed attempts – the sauce is literally everything. Get the sauce right, and your sweet and sour chicken will be amazing. Mess up the sauce, and you’ve got expensive chicken nuggets with weird red glop on top.
The breakthrough for my chicken came when I stopped trying to make it “authentic” and started making it taste good. I use ketchup as my base – yes, ketchup, fight me – along with pineapple juice, brown sugar, and apple cider vinegar. Some people will tell you that’s not “real” sweet and sour chicken, but my family doesn’t care about authenticity when they’re licking their plates clean.
And here’s the game-changer for sweet and sour chicken sauce – cornstarch. Not just mixed in at the end, but properly dissolved in cold water first so it doesn’t turn into weird lumps. I learned this lesson after serving this recipe that looked like it had tiny rubber balls floating in the sauce. Not my finest culinary moment.
Shopping for Sweet and Sour Chicken Without Breaking the Bank
Okay, real talk about this recipe ingredients – you probably already have most of what you need in your pantry. The beauty of this recipe is that it doesn’t require any special trips to Asian markets or weird specialty ingredients that you’ll use once and then forget about.
For the chicken in this recipe, I always use boneless thighs instead of breasts. They’re cheaper, they stay juicier, and honestly, they taste better. I tried making this recipe with chicken breasts once because I thought I was being healthy, and it was like eating sweet and sour cardboard. Thighs are the way to go.
The pineapple for this recipe can be fresh if you’re feeling fancy, but canned chunks work perfectly fine. I actually prefer canned because the juice is what makes the sauce so good, and you get that automatically. Plus, have you ever tried to cut up a fresh pineapple with a toddler hanging on your leg? Canned pineapple is a gift from the convenience gods.
And here’s something I wish I’d known earlier about this recipe – bell peppers are expensive, but they’re not optional. They add this crucial crunch and color that makes homemade sweet and sour chicken look like it came from a restaurant. I buy them when they’re on sale and freeze them for dishes like this.
Actually Making Sweet and Sour Chicken (The Fun Part)
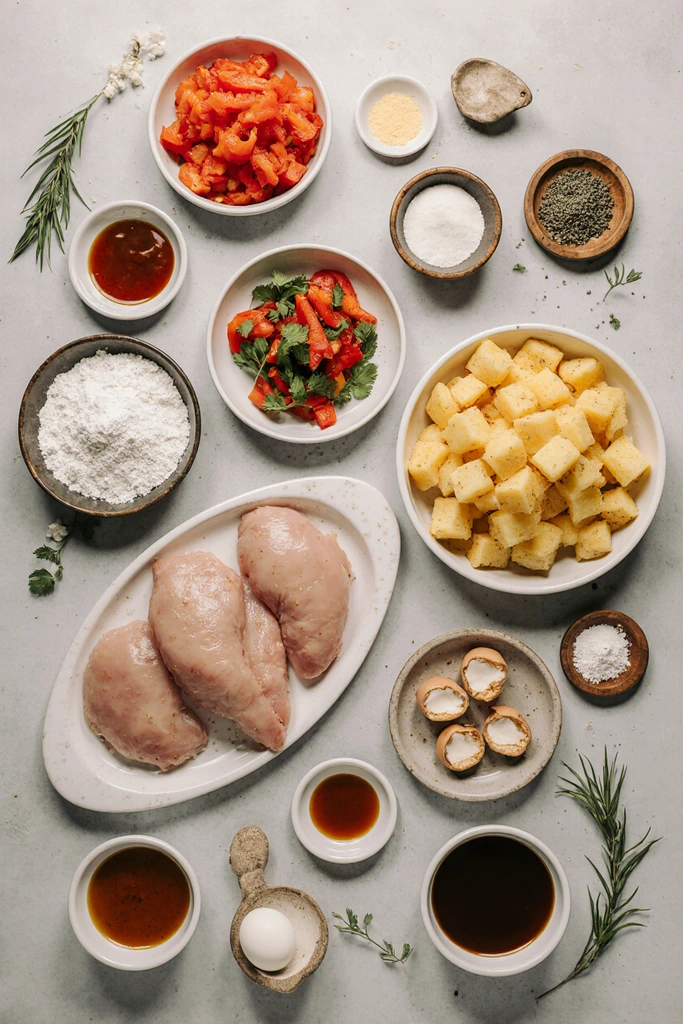
For the Chicken:
- 2 lbs boneless chicken thighs, cut into bite-sized pieces
- 1 cup all-purpose flour
- 1/2 cup cornstarch
- 1 tsp salt
- 1/2 tsp pepper
- 2 eggs, beaten
- Vegetable oil for frying
For the Sweet and Sour Sauce:
- 3/4 cup ketchup (don’t judge)
- 1/2 cup brown sugar
- 1/3 cup apple cider vinegar
- 1/3 cup pineapple juice (from the can)
- 2 tbsp soy sauce
- 1 tsp garlic powder
- 2 tbsp cornstarch mixed with 2 tbsp cold water
The Good Stuff:
- 1 can pineapple chunks, drained (save that juice!)
- 1 red bell pepper, cut into chunks
- 1 green bell pepper, cut into chunks
- 1/2 red onion, cut into chunks
Now, here’s where I always mess up if I’m not careful – get your oil heating FIRST. Sweet and sour chicken comes together fast once you start frying, and there’s nothing worse than having perfectly battered chicken sitting there while you wait for oil to heat up.
Step 1: Cut your chicken into uniform pieces – about 1-inch chunks work perfectly for sweet and sour chicken. If they’re too big, they won’t cook evenly. If they’re too small, they’ll disappear into the sauce.
Step 2: Mix your flour, cornstarch, salt, and pepper in one bowl. Beat your eggs in another. This is your breading station for the sweet and sour chicken, and yes, it’s going to get messy. Embrace it.
Step 3: Heat about 2 inches of oil to 350°F in a heavy pot. I use a candy thermometer because guessing oil temperature is how you end up with either raw chicken or charcoal. Neither is good for sweet and sour chicken.
Step 4: Dip each piece of chicken in the egg, then coat thoroughly in the flour mixture. Press the coating on a bit so it sticks. The coating is what gives sweet and sour chicken that perfect crispy texture.
Step 5: Fry the chicken in batches – don’t overcrowd the pot or the temperature drops and everything gets soggy. Nobody wants soggy sweet and sour chicken. Each batch should take about 4-5 minutes until golden and cooked through.
Step 6: While the chicken is frying (and try not to stress about the oil splatter like I do every time), make your sauce. Mix ketchup, brown sugar, vinegar, pineapple juice, soy sauce, and garlic powder in a large pan or wok.
Step 7: Bring the sauce to a simmer, then add your cornstarch slurry. This is where the magic happens with sweet and sour chicken – the sauce should thicken up beautifully and become glossy.
Step 8: Add your bell peppers and onion to the sauce and cook for about 2-3 minutes. You want them tender-crisp, not mushy. Then add the pineapple chunks just to heat through.
Step 9: Finally, add your fried chicken to the sauce and toss everything together. Every piece should be coated in that beautiful sweet and sour chicken sauce.
The Art of Perfect Sweet and Sour Chicken Timing
Here’s what I wish someone had told me about sweet and sour chicken from the beginning – timing is everything. The chicken needs to stay crispy, the vegetables need to stay bright and crunchy, and the sauce needs to coat everything without being too thick or too thin.
My sweet and sour chicken game changed completely when I started making the sauce while the chicken was frying. By the time the last batch of chicken is done, the sauce is ready, and everything stays hot and perfect. No more soggy sweet and sour chicken or cold sauce disasters.
Also, don’t let the sweet and sour chicken sit around once it’s done. This is a dish that needs to be eaten immediately for the best texture. The sauce will continue to thicken as it cools, and the chicken coating will start to get soggy if it sits too long.
Sweet and Sour Chicken Variations That Actually Work
Once I mastered basic sweet and sour chicken, I started experimenting with different variations. My kids love it when I add baby carrots (cut them thin so they cook quickly). My husband prefers extra pineapple. I’ve even made sweet and sour chicken with chunks of zucchini when I had too many from the garden.
The sweet and sour chicken sauce is also surprisingly adaptable. Want it spicier? Add some red pepper flakes or a squeeze of sriracha. Want it more tangy? Extra vinegar. Want it sweeter? More brown sugar. The basic recipe is just a starting point for your perfect sweet and sour chicken.
I’ve also discovered that this sweet and sour chicken sauce is incredible on other things. I’ve used it on pork, shrimp, even just vegetables for a quick stir-fry. Once you master this sauce, you’ve basically unlocked a whole category of easy dinners.
Why Sweet and Sour Chicken Became Our Go-To Dinner
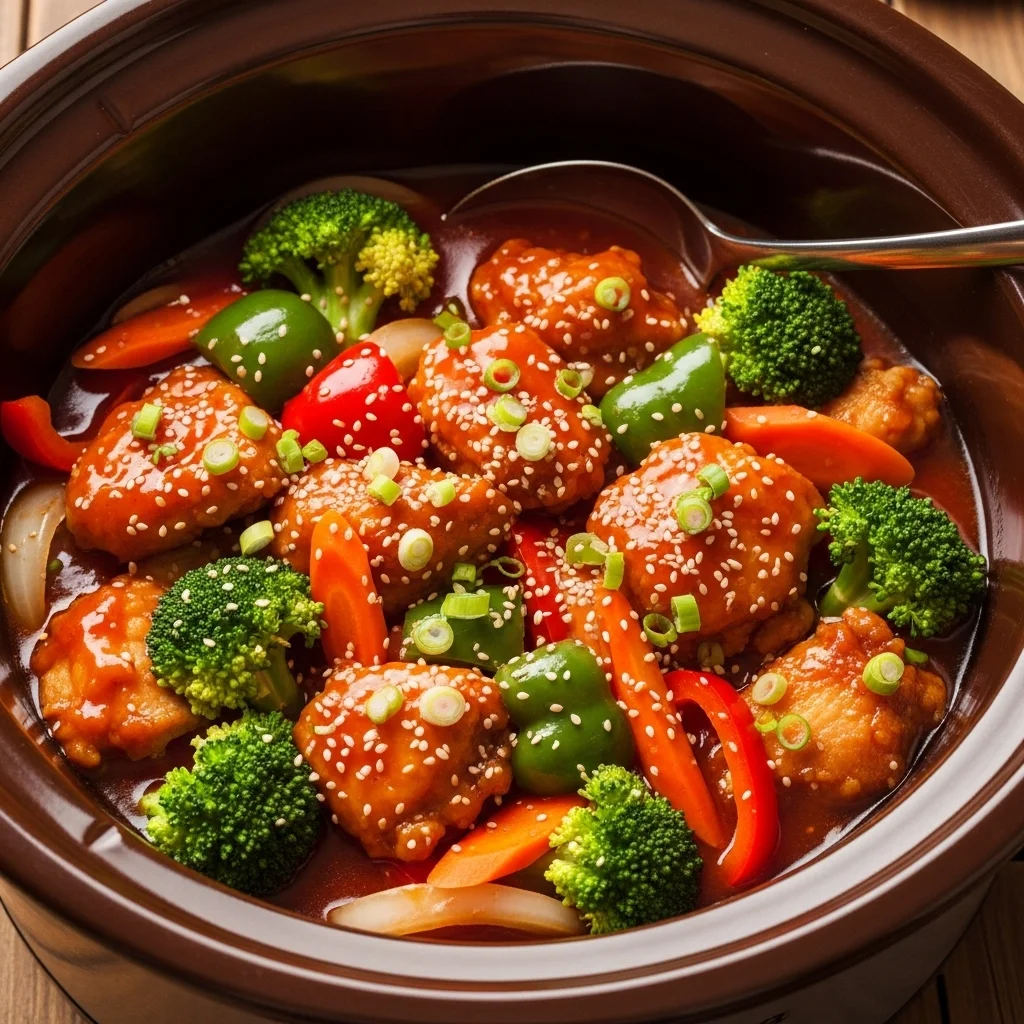
Before I figured out how to make sweet and sour chicken at home, it was always this special treat we’d order from the Chinese restaurant maybe once a month. Now it’s become our regular Tuesday night dinner because it’s actually pretty easy once you know what you’re doing.
My kids love helping make sweet and sour chicken – they fight over who gets to mix the sauce and who gets to add the pineapple. It’s become this fun family cooking project that results in everyone’s favorite dinner. Plus, it makes the house smell amazing while it’s cooking.
And honestly? Making sweet and sour chicken at home is way cheaper than ordering it, and you know exactly what’s going into it. No weird preservatives or mystery ingredients, just chicken, vegetables, and a sauce made from stuff you probably already have.
The best part about mastering sweet and sour chicken is the confidence it gave me to try other “complicated” dishes. If I can make restaurant-quality sweet and sour chicken in my own kitchen, what else can I tackle? It’s like a gateway drug to more adventurous home cooking.
Actually, you know what? Try this sweet and sour chicken recipe and let me know if your family becomes as obsessed as mine. I’m always curious to hear if other people have that same “wait, I made this?” moment that I had with my first successful batch.
Happy cooking! (And may your oil stay at the right temperature and your sauce be perfectly glossy!)
Check more dinner recipes here >>> 20 Crockpot Dinner Ideas That’ll Save Your Sanity (And Your Weeknights)
Sweet and Sour Chicken That's Actually Better Than Takeout
Crispy homemade sweet and sour chicken with tender pieces of fried chicken coated in a tangy-sweet sauce with pineapple, bell peppers, and onions. This restaurant-quality dish is easy to make at home and tastes better than takeout.
Ingredients
- 2 lbs boneless chicken thighs, cut into bite-sized pieces
- 1 cup all-purpose flour
- 1/2 cup cornstarch
- 1 tsp salt
- 1/2 tsp black pepper
- 2 large eggs, beaten
- Vegetable oil for frying
- 3/4 cup ketchup
- 1/2 cup brown sugar
- 1/3 cup apple cider vinegar
- 1/3 cup pineapple juice
- 2 tbsp soy sauce
- 1 tsp garlic powder
- 2 tbsp cornstarch mixed with 2 tbsp cold water
- 1 can pineapple chunks, drained
- 1 red bell pepper, cut into chunks
- 1 green bell pepper, cut into chunks
- 1/2 red onion, cut into chunks
Instructions
-
Step 1Cut chicken thighs into uniform 1-inch pieces for even cooking.
-
Step 2Mix flour, cornstarch, salt, and pepper in one bowl. Beat eggs in another bowl for breading station.
-
Step 3Heat 2 inches of vegetable oil to 350°F in a heavy pot or deep fryer.
-
Step 4Dip each chicken piece in beaten eggs, then coat thoroughly in flour mixture, pressing coating to adhere.
-
Step 5Fry chicken in batches for 4-5 minutes until golden brown and cooked through. Don't overcrowd the pot.
-
Step 6While chicken fries, make sauce by combining ketchup, brown sugar, vinegar, pineapple juice, soy sauce, and garlic powder in a large pan.
-
Step 7Bring sauce to a simmer, then add cornstarch slurry and stir until sauce thickens and becomes glossy.
-
Step 8Add bell peppers and onion to sauce and cook 2-3 minutes until tender-crisp. Add pineapple chunks to heat through.
-
Step 9Add fried chicken to the sauce and toss until every piece is coated. Serve immediately while hot and crispy.