
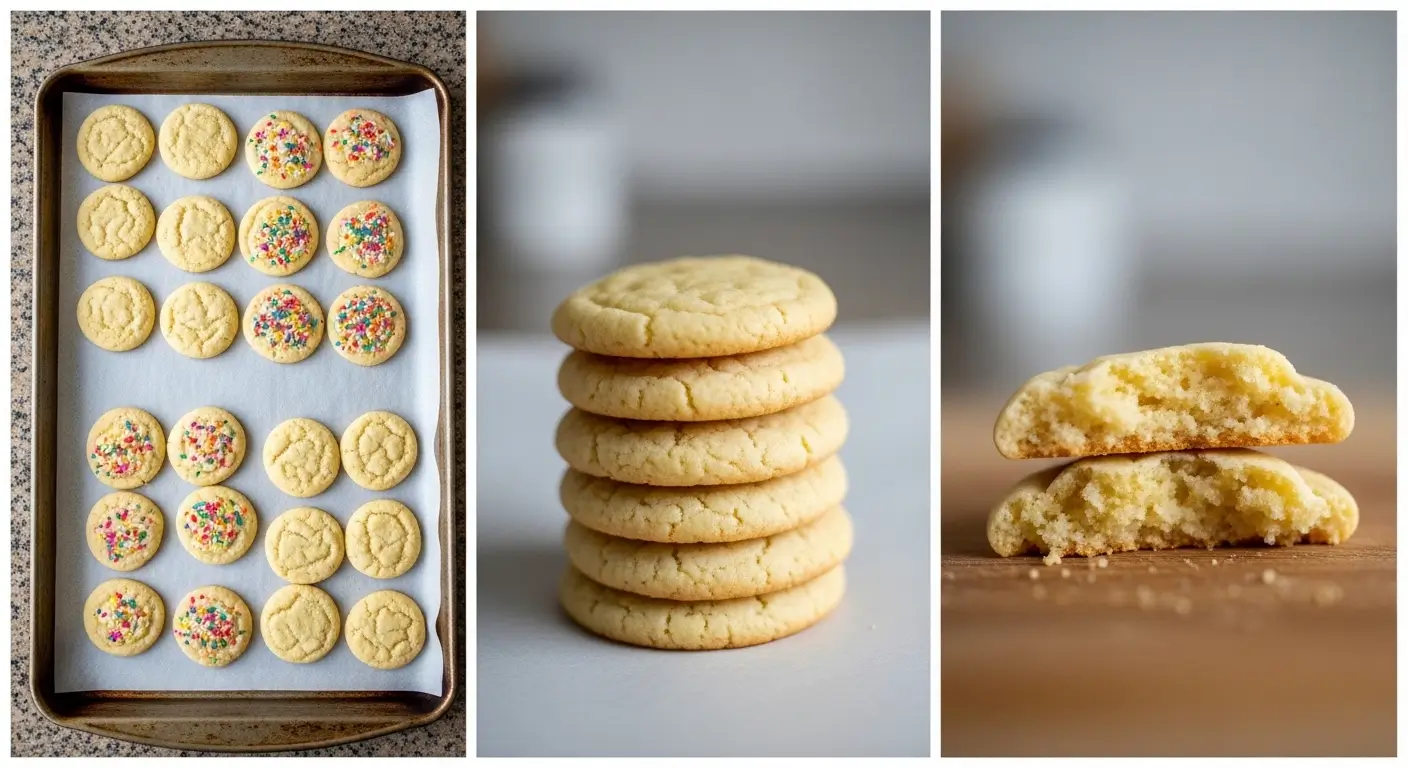
Classic butter cookies are one of those things that sounds simple until you actually try to make them and realize there’s apparently a thousand ways to get them slightly wrong. I know this because I got them slightly wrong. Many times. Over the course of about two years of occasional frustrated attempts before I finally landed on a version that made me actually emotional in my kitchen at 9pm on a random Wednesday.
Not a little emotional. Like, put-the-spatula-down, stare-at-the-cookie-tray emotional. Because they tasted exactly like the ones my grandmother used to make every Eid when I was small. Same crispy edges. Same slightly sandy, melt-in-your-mouth center. Same smell that somehow manages to make a regular kitchen feel like somewhere important.
She never wrote the recipe down. Of course she didn’t. That generation kept recipes in their hands and their instincts, not on paper. I watched her make them probably twenty times as a kid and retained approximately nothing useful because I was eight and more interested in eating them than learning anything. So years later, standing in my own kitchen as an adult, I had a memory of a feeling and a flavor and absolutely no technical information.
What followed was a lot of butter. A lot of failed batches. A lot of cookies that were close but not quite right. And eventually — finally — this recipe. Which I’m now writing down. For my kids. And also for you.
Also check : The Best Lemon Oatmeal No-Bake Cookies (That Actually Work!)
What Makes a Classic Butter Cookies Actually Good
Before we get into ingredients and method, I want to talk about what we’re actually going for here. Because classic butter cookies exist on a spectrum and it’s worth knowing which end of that spectrum you’re aiming at.
On one end you have crispy, snappy, almost shortbread-like cookies. On the other end you have soft, almost cakey cookies that bend instead of snap. The classic butter cookie — the real one, the good one, the kind I’m talking about — lives right in the middle but leaning toward the crispy end. Sandy and crumbly in the center. Slightly crispy at the edges. Holds its shape when you pick it up. Melts on your tongue about two seconds after you bite it.
That texture comes from three things working together: the right ratio of butter to flour, the right amount of mixing, and the right baking temperature. Get any one of those wrong and you drift toward either a greasy flat mess or a dry hard disk. I’ve made both. The greasy flat mess was particularly upsetting.
The classic butter cookies flavor comes almost entirely from — and I realize this is obvious but it’s worth saying — the butter. Which means the butter you use matters more here than in almost any other baking recipe. This is not the place for generic store-brand margarine or whatever’s cheapest. Use real butter. Good butter. I use President unsalted butter because that’s what I can find and it’s genuinely excellent. European-style butter with higher fat content makes an even better cookie if you can find it. The extra fat content makes the texture more tender and the flavor more pronounced.
What You Need for classic butter cookies
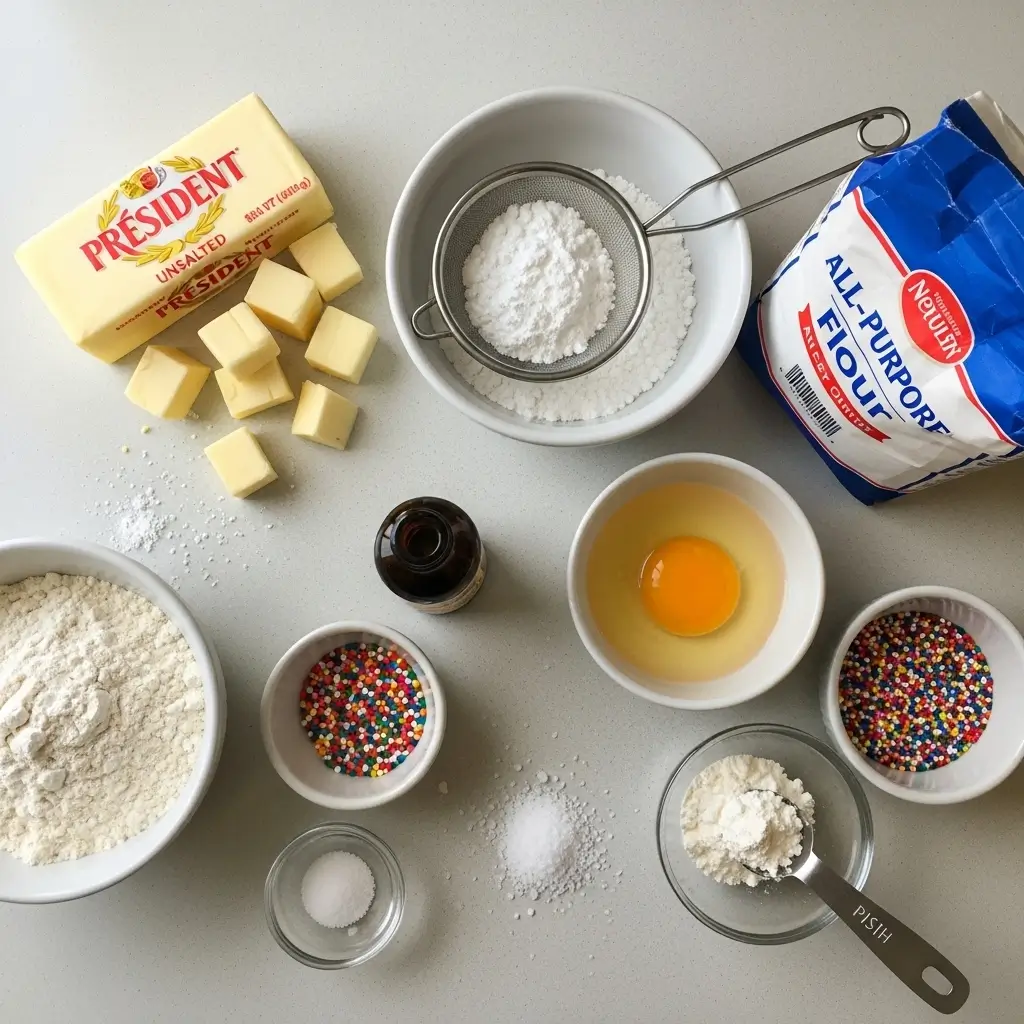
For about 30 to 36 classic butter cookies depending on size:
- 1 cup (225g) unsalted butter — real butter, softened to room temperature, NOT melted
- 3/4 cup powdered sugar — also called icing sugar or confectioners sugar, sifted
- 1 large egg yolk — just the yolk, not the whole egg, this is important
- 2 teaspoons vanilla extract — real vanilla, always real vanilla
- 1/4 teaspoon almond extract — optional but I add it every time, it adds a depth that makes people ask “what IS that flavor?” in the best possible way
- 2 cups all-purpose flour — spooned into the measuring cup and leveled, not scooped directly (scooping compresses the flour and you’ll end up with too much)
- 1/4 teaspoon salt
- 2 tablespoons cornstarch — this is my secret weapon and I’ll explain exactly why in a moment
For decoration (optional but highly recommended):
- Sprinkles — any kind, my kids pick theirs separately and this causes negotiation
- Coarse sugar for sprinkling on top
- Melted chocolate for dipping after baking
- Jam for thumbprint-style filling
Now. The cornstarch. The cornstarch is doing something very specific here — it interrupts gluten formation in the flour, which produces a more tender, more crumbly, more melt-in-your-mouth result. Classic butter cookies made without cornstarch are fine. Classic butter cookies made with cornstarch are noticeably better — more delicate, more sandy in that beautiful way that makes you eat three before you’ve registered eating one. I learned this from a pastry book I bought on sale two years ago and it genuinely changed my baking. Add the cornstarch. Don’t skip it.
The Butter Temperature Issue — Let’s Address This Immediately
Room temperature butter. This matters enormously and I’m putting it at the top because it’s where I went wrong most consistently in my early attempts.
Room temperature butter means butter that’s been sitting out for about an hour — it should be soft enough that when you press it with your finger it leaves an indent easily, but it should NOT be shiny, greasy, or starting to melt at the edges. If you can see any liquid pooling around the butter, it’s too warm. If it’s still firm and resists your finger, it’s too cold.
Too cold butter won’t cream properly with the sugar and you’ll get a dense, poorly mixed dough. Too warm butter will make your dough greasy and your cookies will spread too thin and come out flat and oily. The first time I made these I was impatient and tried to soften the butter in the microwave. I overshot by about fifteen seconds and had slightly melted butter. The cookies spread so thin they were basically butter crisps. Edible! Like a very flat, very greasy cracker. Not what I was going for.
If you forget to take your butter out in advance — which I do constantly — cut it into small cubes and let it sit for 20 to 30 minutes. Cubes warm up much faster than a whole block. Or grate it on a box grater. I know that sounds absurd but grated cold butter comes to room temperature in about 10 minutes and it works perfectly. My sister-in-law taught me this and I thought she was being dramatic until I tried it. She was not being dramatic.
How to Make Classic Butter Cookies
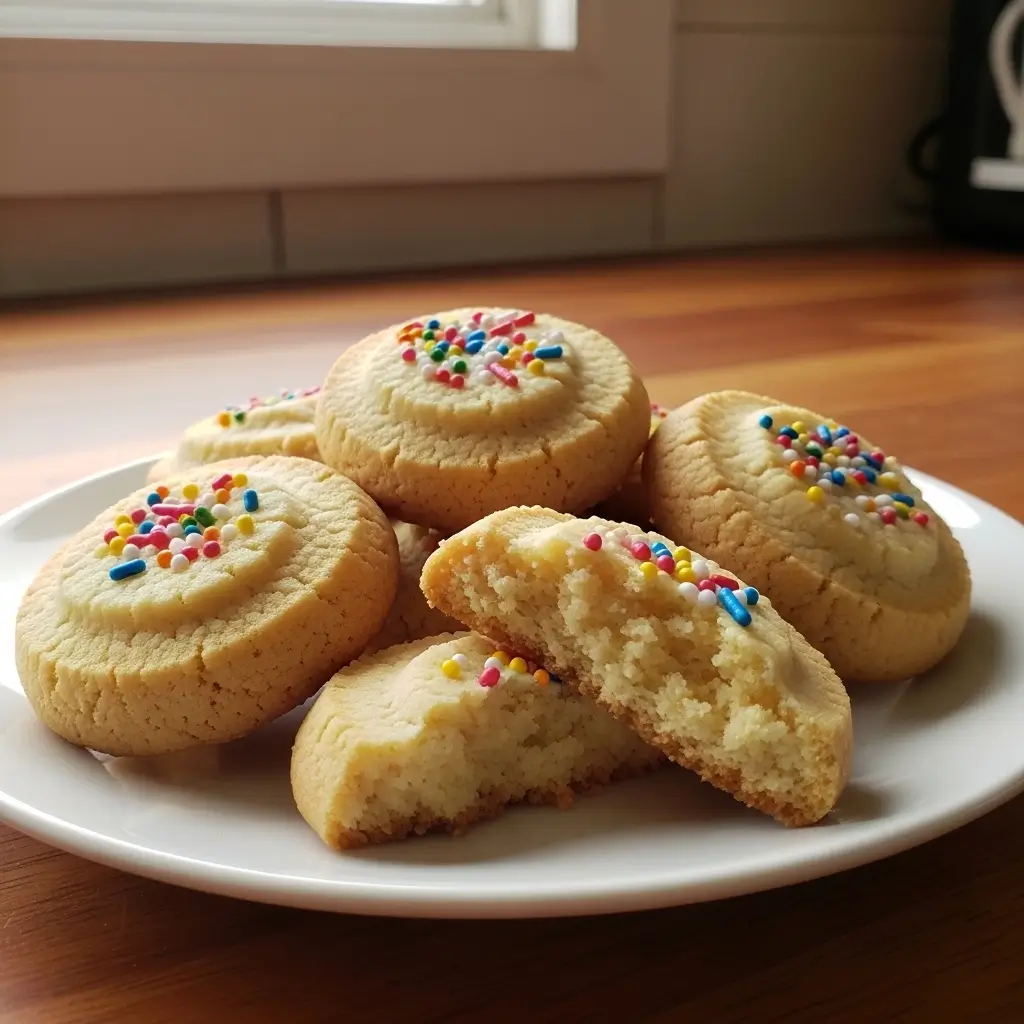
Okay. Let’s do this.
Step 1: In a large bowl, beat the softened butter with an electric hand mixer on medium speed for about 2 minutes until it’s pale and slightly fluffy. Just the butter, nothing else yet. This step — creaming the butter on its own first — is something I skipped for years and shouldn’t have. It aerates the butter slightly and makes the final cookie more tender.
Step 2: Add the sifted powdered sugar and beat on medium-low for another 2 minutes until the mixture is pale, fluffy, and smooth. It should look almost like whipped cream at this point — very light, very airy. If it looks grainy or dense, keep beating. Don’t rush this step. I have rushed this step. The cookies are noticeably denser when you do.
Step 3: Add the egg yolk, vanilla extract, and almond extract if using. Beat until fully incorporated and smooth — about 1 minute. Scrape down the sides of the bowl with a spatula. Always scrape the sides. There’s always butter hiding at the sides that doesn’t get mixed in and then you find a weird dense patch in your finished dough.
Step 4: Add the flour, cornstarch, and salt. Now switch from the electric mixer to a spatula or wooden spoon. Mix by hand until just combined — a classic butter cookie dough should come together into a smooth, non-sticky dough that holds its shape when you press it. If it crumbles and won’t hold together, add half a teaspoon of cold water and mix again. If it’s sticky, add a tablespoon of flour.
Do not use the electric mixer for the flour stage. I did this once. The gluten development from the machine mixing made the cookies tough and slightly chewy in a bad way. By hand, gently, until just combined. That’s it.
Step 5: Here’s where you have options. You can:
Option A — Roll and cut: Wrap the dough in plastic wrap, flatten into a disk, and refrigerate for at least 1 hour. Then roll out on a lightly floured surface to about 1/4 inch thickness and cut into shapes. This is the version for when you have time and children who want to use cookie cutters and make a significant mess.
Option B — Slice and bake: Roll the dough into a log about 2 inches in diameter, wrap in plastic wrap, and refrigerate for 1 hour. Then slice into rounds about 1/3 inch thick. This is the weeknight version. This is my most-made version. The classic butter cookie rounds look beautiful with their clean edges and take no special equipment.
Option C — Pipe: If your dough is slightly softer, you can pipe it through a cookie press or piping bag fitted with a star tip directly onto the baking sheet. This gives you those beautiful classic Danish-style butter cookie shapes. I do this version at Eid. It takes longer and requires a steady hand and my first attempts looked like abstract art, but the final result is genuinely stunning.
Step 6: Preheat oven to 325°F (160°C). Yes, 325°F. Lower than you’d expect. Classic butter cookies bake low and slow — high heat browns the outside before the inside has time to develop that proper sandy texture and the edges can overbrown before the center is done. 325°F gives you even, gentle, perfect baking.
Step 7: Place chilled dough pieces on a parchment-lined baking sheet. Add sprinkles or coarse sugar on top if using. Leave about 1 inch between cookies — they don’t spread much but they need a little room.
Step 8: Bake for 12 to 15 minutes. Here’s the thing about knowing when classic butter cookies are done — they will NOT look golden brown all over when they’re ready. The tops will look pale and barely set. What you’re looking for is the very bottom edges just starting to turn the faintest golden color. That’s the signal. Pull them then. They’ll look underdone and you’ll feel nervous about it. They’re not underdone. They’ll firm up perfectly as they cool.
If you wait until they look golden on top, you’ve gone too far and you’ll have hard cookies instead of that beautiful melt-in-your-mouth texture. I’ve done this. Heartbreaking.
Step 9: Cool on the baking sheet for 5 minutes, then transfer carefully to a wire rack. They’re delicate when warm. Full cool before eating — or at least try. I never fully manage this.
Every Way I’ve Gotten This Wrong
Because transparency matters:
The melted butter disaster: Already told you. Flat greasy butter crisps. Room temperature butter only.
The granulated sugar mistake: Used regular granulated sugar instead of powdered sugar once because I’d run out and didn’t want to go to the store. The texture was completely wrong — grainy, slightly crunchy in an unpleasant way, and the cookies spread too much. Powdered sugar creates the sandy melt-in-your-mouth texture. Granulated sugar does not. Sift your powdered sugar.
The whole egg situation: Used a whole egg instead of just the yolk. Too much liquid. The cookies spread thin and had a slightly cakey texture. Just the yolk. Always just the yolk.
The warm dough baking attempt: Tried to skip the refrigeration step because I was impatient. The dough was too soft and the cookies spread and lost their shape entirely. The chilling is non-negotiable — it re-solidifies the butter, which controls spreading and keeps the cookies holding their shape during baking.
The high heat experiment: Tried 375°F thinking it would be faster. The edges burned while the centers stayed pale and underdeveloped. Classic butter cookies need 325°F and patience.
The mixer-for-flour mistake: Already described. Tough, slightly chewy, confused cookies. By hand for the flour. Every time.
Variations That Are Worth Trying
The classic butter cookie is also a wonderful base for variations:
Lemon butter cookies: Add the zest of one lemon to the butter and sugar creaming stage. The lemon oil in the zest infuses the fat and distributes flavor throughout every single cookie. Bright, fresh, and beautiful. My daughter’s current favorite.
Chocolate dipped: After the cookies have fully cooled, dip half of each cookie in melted dark chocolate and place on parchment to set. These look incredibly professional and people will think you spent much more time on them than you did. My neighbor Samira thought I’d bought these from a patisserie. I did not tell her otherwise for a few minutes.
Cardamom version: Add 1/2 teaspoon of ground cardamom to the flour. This is my Eid version. The cardamom adds this warmly spiced, slightly floral quality that is deeply nostalgic for me and apparently for everyone who’s tried them because I get requests for these specifically every year.
Jam thumbprints: Roll dough into balls, press a thumbprint into the center of each, fill with a small amount of good jam — apricot or raspberry work best — then bake as normal. The jam sets in the oven and becomes glossy and jewel-like. These look absolutely beautiful on a cookie plate.
Brown butter version: Brown the butter in a saucepan until it smells nutty and the milk solids turn golden, then cool it completely until solid again before using. This adds a deep, nutty, caramel-adjacent flavor that makes the classic butter cookie taste somehow more sophisticated. Takes extra time. Worth every minute.
The Part Where I Get a Little Sentimental
I don’t usually do this in recipes. But classic butter cookies specifically make me want to say something about why simple recipes matter.
My grandmother’s cookies weren’t complicated. They were just butter and sugar and flour and her hands that knew exactly what the dough was supposed to feel like. She didn’t measure anything. She’d done it so many times the recipe lived in her body.
I measure everything. I have a kitchen scale and a thermometer and I’ve made notes in a little book about what works and what doesn’t. And the cookies I make now — this version, the one I’m giving you — taste right. Not identical to hers, maybe. I’ll never know for certain. But they taste like the memory of hers, which is the closest I can get, and that’s something.
Make these for someone. Not just for yourself, though please also make them for yourself. Make them for someone and watch their face when they take the first bite of a still-slightly-warm classic butter cookie that tastes like it came from somewhere that matters.
That’s what good simple food does. Let me know in the comments how yours turn out — and if you try the cardamom version especially, because that one deserves more attention than it gets 🍪✨
Table of Contents
Classic Butter Cookies
The most perfect classic butter cookies with crispy edges, a melt-in-your-mouth sandy center, and pure rich buttery flavor. Made with a simple cornstarch trick for the best possible texture, this foolproof recipe includes three shaping methods and delicious variations including lemon, cardamom, chocolate dipped, and jam thumbprints.
Ingredients
- 1 cup (225g) unsalted butter, softened to room temperature (President recommended)
- 3/4 cup powdered sugar, sifted
- 1 large egg yolk
- 2 teaspoons vanilla extract
- 1/4 teaspoon almond extract (optional)
- 2 cups all-purpose flour, spooned and leveled
- 2 tablespoons cornstarch
- 1/4 teaspoon salt
- Sprinkles or coarse sugar for topping (optional)
- Melted dark chocolate for dipping after baking (optional)
- Good quality jam for thumbprint filling (optional)
Instructions
-
Step 1Beat softened butter alone with an electric hand mixer on medium speed for 2 minutes until pale and slightly fluffy.
-
Step 2Add sifted powdered sugar and beat on medium-low for 2 minutes until the mixture is pale, light, and fluffy.
-
Step 3Add egg yolk, vanilla extract, and almond extract if using. Beat for 1 minute until fully incorporated. Scrape down the sides of the bowl with a spatula.
-
Step 4Add flour, cornstarch, and salt. Switch to a spatula or wooden spoon and mix by hand until just combined into a smooth non-sticky dough. Do not use the electric mixer for this step.
-
Step 5Shape the dough using one of three methods: wrap and refrigerate as a flat disk for rolling and cutting; roll into a log for slice-and-bake rounds; or leave slightly softer for piping. Refrigerate shaped dough for at least 1 hour.
-
Step 6Preheat oven to 325°F (160°C) and line baking sheets with parchment paper.
-
Step 7Place chilled dough pieces on prepared baking sheets about 1 inch apart. Add sprinkles or coarse sugar on top if desired.
-
Step 8Bake for 12 to 15 minutes until the very bottom edges just begin to show the faintest golden color. Tops will remain pale — this is correct. Do not wait for tops to brown.
-
Step 9Cool on the baking sheet for 5 minutes then transfer carefully to a wire rack to cool completely before serving or decorating.