
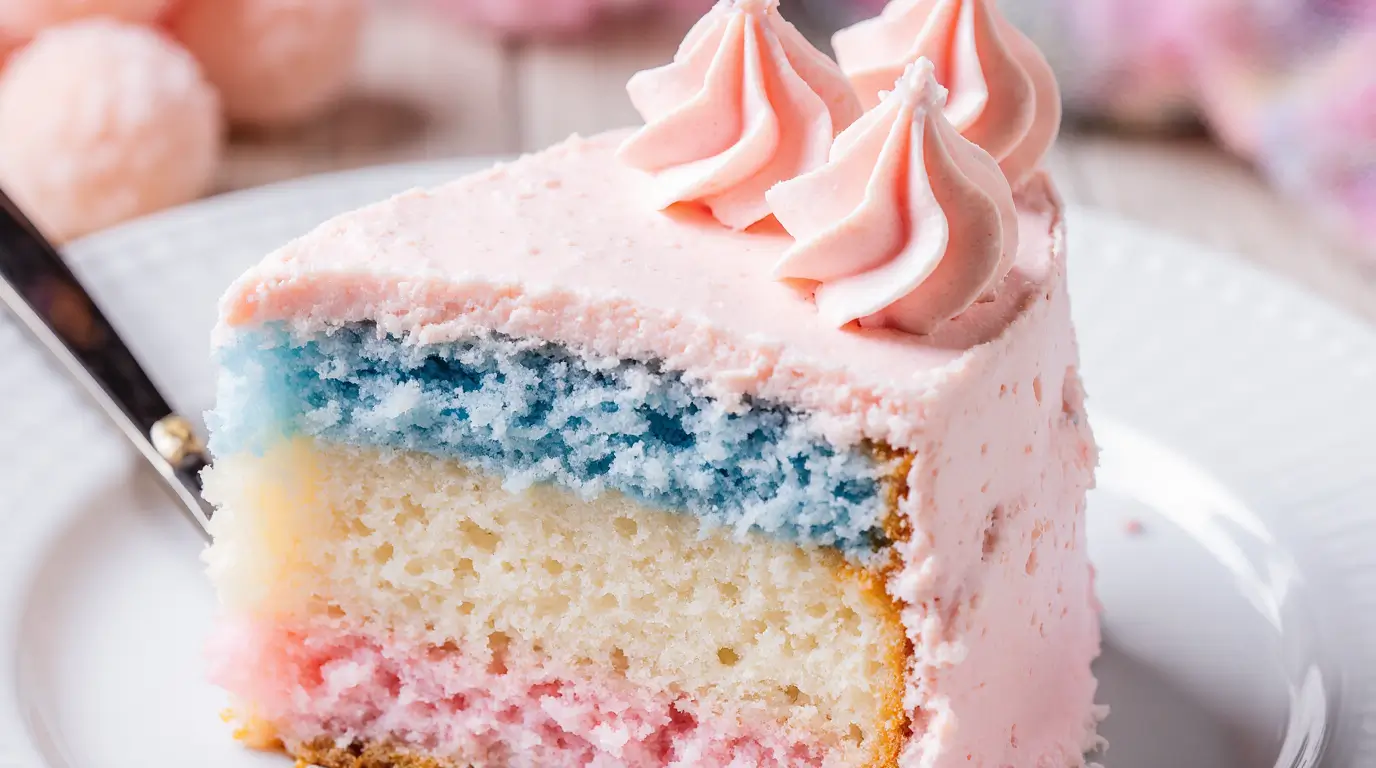
Cotton candy cake is basically childhood in cake form, and I’m not even sorry about how extra it is. Like, we’re talking bright pink and blue layers that taste exactly like that spun sugar you get at the fair, topped with the fluffiest buttercream you’ve ever seen. This cotton candy cake started as a birthday request from my 7-year-old niece, but honestly? The adults at the party were more excited about it than the kids were.
I’ll be real with you—making this cotton candy cake used to intimidate me. All those layers, the colors, the whole “how do I make cake taste like cotton candy” thing. But after completely bombing my first attempt (we don’t talk about the Great Cake Collapse of 2022), I figured out the secret. It’s all about the cotton candy extract and not overthinking the process.
Now here’s the thing about cotton candy cake that nobody tells you: it’s actually easier than most fancy layer cakes because you’re not trying to make it look rustic or elegant. This cotton candy cake is supposed to look fun and a little chaotic. Perfect for someone like me who can never get frosting perfectly smooth anyway.
Why This Cotton Candy Cake Actually Works
Most cotton candy flavored things taste like artificial sweetness mixed with regret. But this cotton candy cake? It actually tastes like the real deal because we’re using actual cotton candy in the batter. Yeah, you read that right. We’re dissolving cotton candy into the cake layers, and it’s genius.
I discovered this trick completely by accident when my daughter left a bag of cotton candy on the counter and it got all melted and sticky. Instead of throwing it away, I thought “what if I just… mixed this into cake batter?” Best kitchen experiment ever. This cotton candy cake has been requested for every birthday in our family since then.
The layered colors are what really make this cotton candy cake special. You get that carnival aesthetic without needing any fancy decorating skills. Just divide your batter, add some food coloring, and boom—you look like a professional baker who definitely knows what they’re doing.
Table of Contents
What You’ll Need (And My Shopping Adventures)
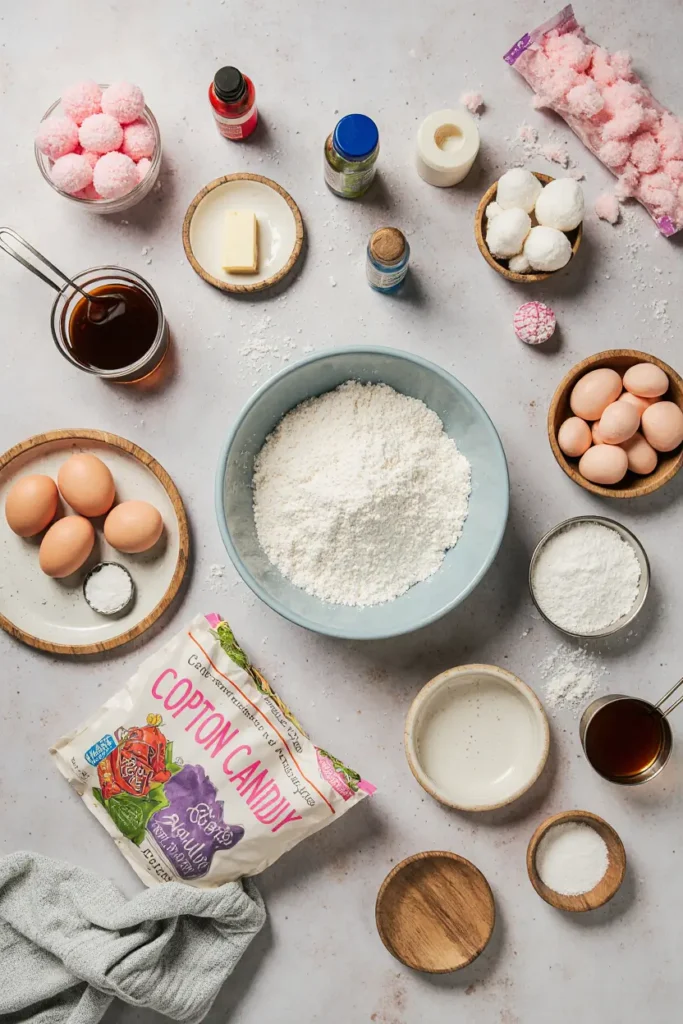
Here’s everything for this cotton candy cake, and trust me, I’ve learned some things about these ingredients the hard way:
For the Cake:
- 2½ cups all-purpose flour (I use Gold Medal because it’s reliable)
- 2½ tsp baking powder (Check the expiration date! Learned this lesson painfully)
- ½ tsp salt
- ¾ cup unsalted butter, room temperature (seriously, let it sit out for like 3 hours)
- 1¾ cups granulated sugar
- 4 large eggs, room temperature
- 2 tsp vanilla extract
- 1 tsp cotton candy extract (You can find this at Walmart in the baking aisle)
- 1¼ cups whole milk, room temperature
- 1 cup cotton candy, torn into small pieces (buy the bagged stuff, not fair cotton candy)
- Pink and blue food coloring (gel works better than liquid)
For the Buttercream:
- 1 cup unsalted butter, room temperature
- 4 cups powdered sugar
- ¼ cup heavy cream
- 1 tsp vanilla extract
- ½ tsp cotton candy extract
- Pink food coloring
- Extra cotton candy for decoration
Okay, so about that cotton candy extract—don’t skip it. I tried making this cotton candy cake without it once, thinking “how different could it be?” Very different. Like, disappointingly different. Also, buy extra cotton candy because you’ll definitely eat some while you’re cooking. It’s basically mandatory.
The Step-by-Step Process (With All My Learning Moments)
Step 1: Prep Everything (Don’t Skip This) Preheat your oven to 350°F and grease three 8-inch round pans. Line them with parchment paper because this cotton candy cake likes to stick, and nobody has time for cake disasters. I learned this after spending 20 minutes trying to get cake out of a pan with a butter knife.
Step 2: Make the Cotton Candy Magic In a small bowl, dissolve your torn-up cotton candy in ¼ cup of warm milk. It’ll look weird and kind of gross at first—like pink slime—but that’s normal. Stir until it’s completely dissolved. This is what makes this cotton candy cake taste authentic instead of just sweet.
Step 3: Mix the Dry Stuff Whisk together flour, baking powder, and salt in a medium bowl. Set it aside and try not to get flour everywhere like I always do.
Step 4: Cream the Butter and Sugar Beat that room temperature butter with sugar for like 3-4 minutes until it’s fluffy. Add eggs one at a time, then vanilla and cotton candy extract. The mixture might look a little curdled after the cotton candy milk goes in, but don’t panic. This cotton candy cake is forgiving.
Step 5: Bring It All Together Alternate adding the flour mixture and remaining milk to the butter mixture, starting and ending with flour. Mix until just combined—don’t overmix or your cotton candy cake will be tough.
Step 6: Create the Layers Divide the batter into three bowls. Leave one plain (this’ll be your white layer), add pink coloring to one, and blue to another. I go pretty bold with the colors because they’ll fade a bit when baked.
Pour each color into its own prepared pan. Bake for 22-25 minutes until a toothpick comes out with just a few moist crumbs.
Step 7: The Buttercream (My Favorite Part) While the layers cool completely (and I mean COMPLETELY—warm cake will melt your frosting), make the buttercream. Beat butter until light and fluffy, gradually add powdered sugar, then cream, vanilla, and cotton candy extract. Add pink coloring until you get that perfect cotton candy pink.
Assembly Day (AKA Controlled Chaos)
This is where this cotton candy cake gets fun. Once your layers are completely cool, level them with a serrated knife if needed. Place the pink layer on your serving plate, spread buttercream on top, add the white layer, more buttercream, then the blue layer.
Now for the outside frosting—this is where you can be messy. This cotton candy cake is supposed to look playful, not perfect. I usually do a crumb coat first, chill for 30 minutes, then do a final layer of frosting.
The best part? Decorating with actual cotton candy on top. It looks amazing and gives people a hint about what they’re about to eat. Just add it right before serving because cotton candy dissolves pretty quickly.
What I Wish Someone Had Told Me
The biggest thing about this cotton candy cake is the cotton candy extract. Don’t use too much—I went overboard once and it tasted like artificial everything. A little goes a long way.
Also, this cotton candy cake is sweet. Like, really sweet. Serve smaller slices than you normally would, and maybe have some milk ready. But that’s part of the charm, right? It’s supposed to taste like a carnival in your mouth.
Store this cotton candy cake covered at room temperature for up to 3 days, but honestly, it never lasts that long in my house. The cotton candy decorations will start to dissolve after a day, so add those fresh each time you serve it.
Why Kids (and Grown-Ups) Go Absolutely Wild
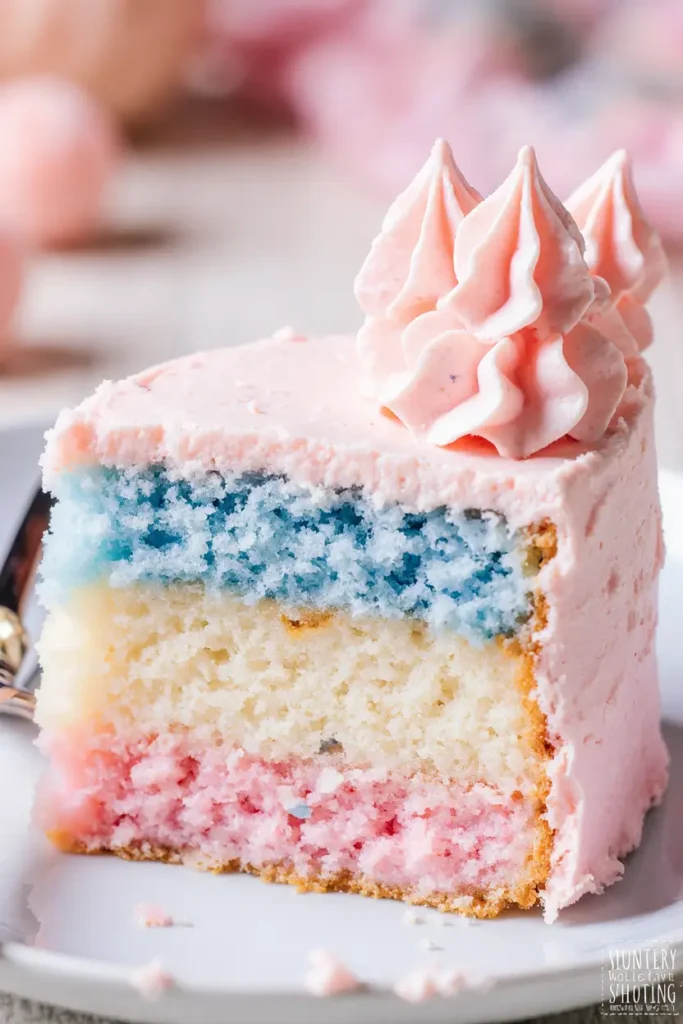
There’s something about cutting into this cotton candy cake and seeing those bright layers that just makes people smile. It’s pure joy in cake form. My brother, who claims he doesn’t like “fancy desserts,” asked me to make this cotton candy cake for his 35th birthday. That’s when you know you’ve got a winner.
The flavor is exactly what you’d expect but somehow better. It’s sweet without being cloying (okay, it’s a little cloying, but in a good way), and the texture is perfect—light and fluffy just like actual cotton candy.
I posted a picture of this cotton candy cake on Facebook and got messages from friends I hadn’t talked to in years asking for the recipe. My cousin drove two hours to my house just to try a piece. That’s the power of cotton candy cake, people.
The Real Talk
Look, this cotton candy cake isn’t going to win any sophisticated dessert awards. It’s not refined or elegant or any of those fancy food words. But you know what it is? Pure happiness on a plate. Sometimes that’s exactly what you need.
Making this cotton candy cake reminds me why I love baking in the first place. It’s not about perfection—it’s about creating something that makes people smile. And when my nephew’s face lit up when he saw this cotton candy cake at his birthday party? That’s worth all the pink food coloring stains on my kitchen counter.
Every time I make this cotton candy cake, I feel like I’m giving people permission to be kids again, even if it’s just for one slice. And honestly, we all need a little more of that in our lives.
So go ahead, make this ridiculously colorful, unapologetically sweet cotton candy cake. Embrace the chaos, enjoy the mess, and don’t forget to lick the frosting bowl. Trust me on that last one—it’s the best part.
Happy baking, and may your layers be colorful and your frosting be fluffy! 🎂💕
Cotton Candy Cake
A magical cotton candy cake with colorful pink, white, and blue layers that tastes just like carnival cotton candy. Made with real cotton candy and cotton candy extract for authentic flavor and topped with fluffy pink buttercream.
Ingredients
- 2½ cups all-purpose flour
- 2½ tsp baking powder
- ½ tsp salt
- ¾ cup unsalted butter, room temperature
- 1¾ cups granulated sugar
- 4 large eggs, room temperature
- 2 tsp vanilla extract
- 1 tsp cotton candy extract
- 1¼ cups whole milk, room temperature
- 1 cup cotton candy, torn into pieces
- Pink and blue food coloring
- 1 cup unsalted butter, room temperature (for frosting)
- 4 cups powdered sugar
- ¼ cup heavy cream
- 1 tsp vanilla extract (for frosting)
- ½ tsp cotton candy extract (for frosting)
- Pink food coloring (for frosting)
- Extra cotton candy for decoration
Instructions
-
Step 1Preheat oven to 350°F. Grease and line three 8-inch round pans with parchment paper.
-
Step 2Dissolve torn cotton candy in ¼ cup warm milk, stirring until completely dissolved.
-
Step 3Whisk together flour, baking powder, and salt in a medium bowl.
-
Step 4Cream butter and sugar for 3-4 minutes until fluffy. Add eggs one at a time, then vanilla and cotton candy extract.
-
Step 5Add cotton candy milk mixture to butter mixture. Alternate adding flour mixture and remaining milk, beginning and ending with flour.
-
Step 6Divide batter into three bowls. Leave one plain, color one pink and one blue with food coloring.
-
Step 7Pour each colored batter into prepared pans. Bake 22-25 minutes until toothpick comes out with few moist crumbs.
-
Step 8For buttercream: Beat butter until fluffy, gradually add powdered sugar, then cream, vanilla, cotton candy extract, and pink coloring.
-
Step 9Once layers are completely cool, assemble with buttercream between each layer and frost outside.
-
Step 10Decorate with additional cotton candy just before serving.