
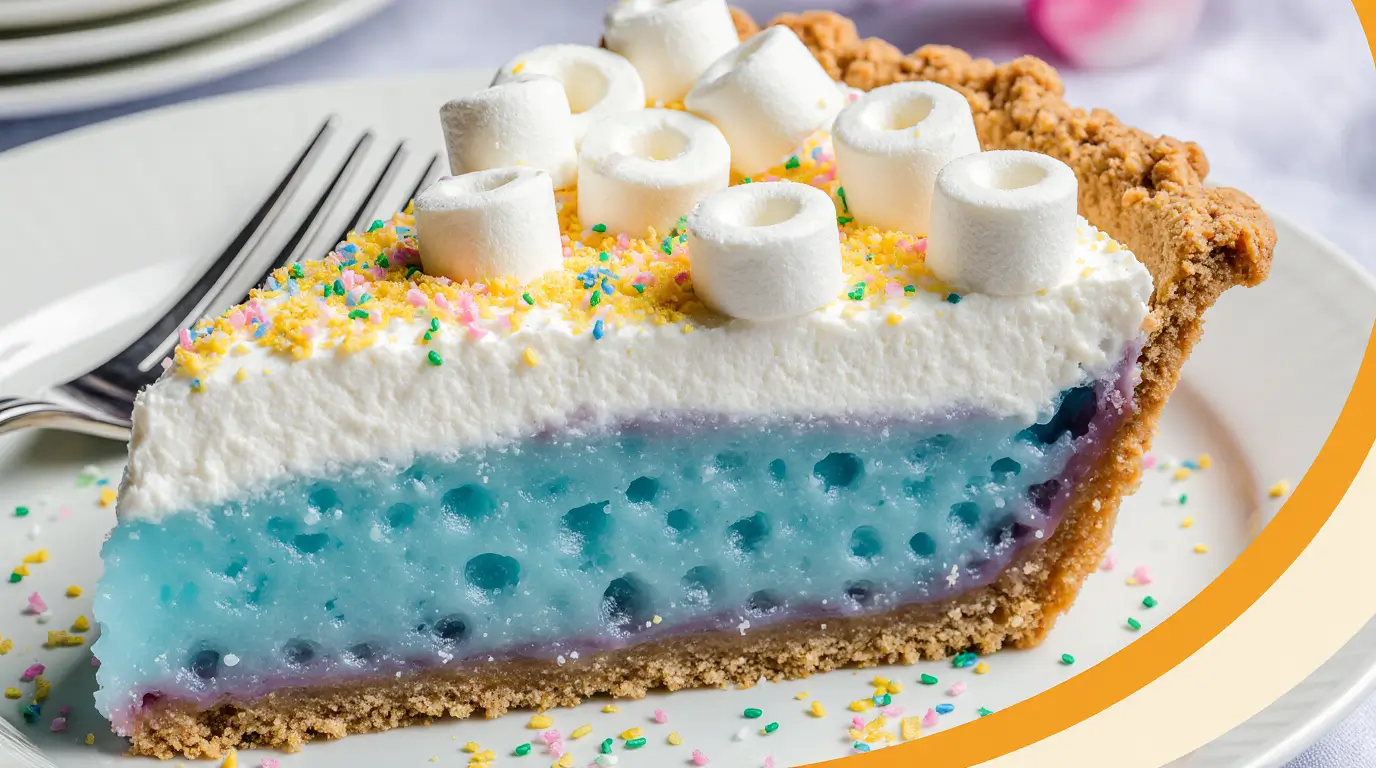
Easter Jell-O pie is honestly one of those desserts that looks way harder to make than it actually is. I mean, seriously—when I first saw this on Pinterest three years ago, I thought “there’s no way I’m pulling that off.” But here’s the thing… it’s basically just organized Jell-O in a pie crust. And if I can make Easter Jell-O pie without completely destroying my kitchen, anyone can.
Look, I’m gonna be honest with you. My first attempt at this Easter Jell-O pie was a disaster. Complete disaster. I tried to rush the cooling process and ended up with what looked like a tie-dye mess instead of those pretty distinct layers. But now? Now I’ve got this Easter Jell-O pie down to a science, and people actually ask me to bring it to every spring gathering.
The best part about this Easter Jell-O pie isn’t just how it looks (though let’s be real, it’s gorgeous). It’s that my kids go absolutely crazy for it, and I don’t have to feel guilty because it’s not loaded with butter like most Easter desserts. Well, except for the crust. But we’re not talking about the crust right now.
Why This Easter Jell-O Pie Actually Works
Most Jell-O desserts remind me of cafeteria food from elementary school. You know what I’m talking about—that weird jiggly stuff that probably shouldn’t exist. But this Easter Jell-O pie is different because each layer gets to set properly, so you get these beautiful, distinct colors that don’t bleed into each other.
I discovered this recipe completely by accident when I was trying to make something special for Easter brunch at my sister’s house. She’s one of those people who makes everything from scratch and has a Pinterest-perfect home, so I was feeling the pressure. This Easter Jell-O pie saved my reputation that day, and now it’s become our family tradition.
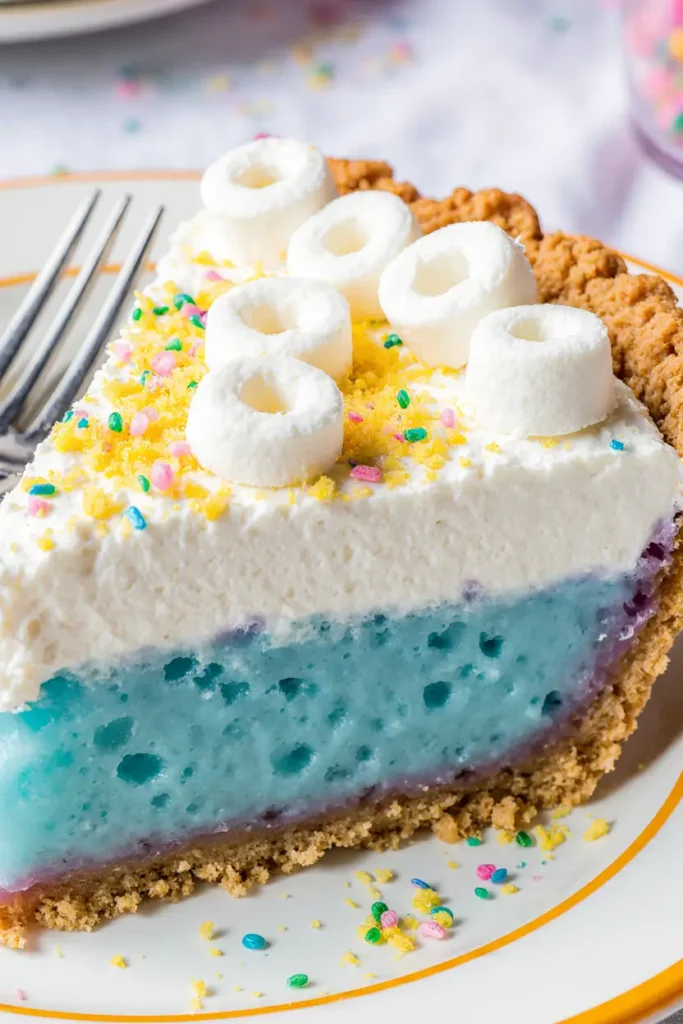
The purple layer always gets the most comments. Something about that deep grape color just screams spring to people. My neighbor’s kid said it looked like “Easter magic,” and honestly? That’s exactly what this Easter Jell-O pie feels like when you slice into it and see all those perfect layers.
Table of Contents
What You’ll Need (And My Shopping Disasters)
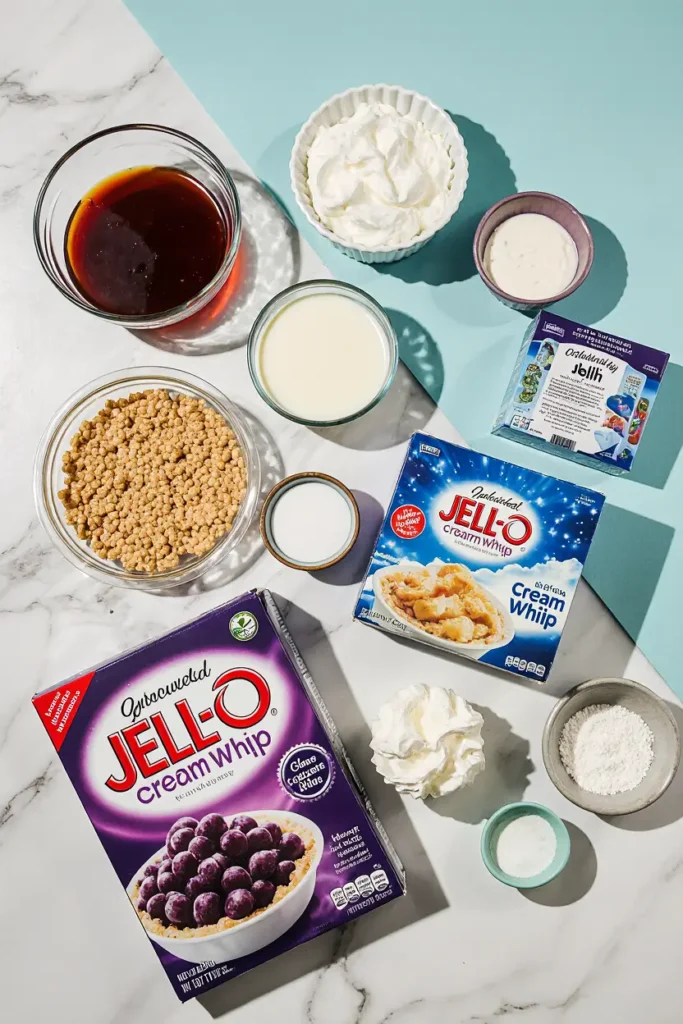
Here’s what you need for this Easter Jell-O pie, and trust me, I’ve learned the hard way about some of these ingredients:
- 1 pre-made graham cracker crust (I use Keebler because I’m not making crust from scratch for Jell-O pie, okay?)
- 1 (3 oz) box grape Jell-O (This is your bottom purple layer)
- 1 (3 oz) box blue Jell-O (Creates that gorgeous turquoise middle layer)
- 1 (3 oz) package unflavored gelatin
- 2 cups boiling water (divided)
- 1½ cups cold water (divided)
- 1 (8 oz) package cream cheese, softened (Please don’t use the low-fat stuff—it tastes like sadness)
- ½ cup sugar
- 1 (8 oz) container Cool Whip, thawed (I always buy extra because I eat some straight from the container)
- Food coloring (blue and purple, if you want super vibrant layers)
Now, here’s where I messed up the first time. I thought I could substitute sugar-free Jell-O to make this Easter Jell-O pie “healthier.” Don’t. Just don’t. The setting process is completely different, and you’ll end up with layers that look like they’re melting into each other.
Also, about that cream cheese—make sure it’s actually soft. I once tried to rush this step by microwaving it, and let me tell you, lumpy Easter Jell-O pie filling is not cute. Set it out like two hours before you start, or do what I do now and keep it on top of my fridge overnight.
The Step-by-Step Process (With All My Mistakes)
Step 1: Make the Purple Layer Dissolve the grape Jell-O in 1 cup of boiling water. I always use my Pyrex measuring cup for this because it handles the hot water better than regular bowls. Add ½ cup cold water and stir. If you want that layer extra purple (which I do), add like 3-4 drops of purple food coloring. Pour this into your graham cracker crust and stick it in the fridge for about 45 minutes until it’s set but still slightly jiggly.
The key with this Easter Jell-O pie is patience. I know it’s tempting to check every five minutes, but don’t. Just don’t. Set a timer and walk away.
Step 2: The Cream Cheese Layer (My Favorite Part) While that purple layer is setting, beat your softened cream cheese with the sugar until it’s smooth. This is where I got fancy and started using my stand mixer, but a hand mixer works fine. Slowly add the unflavored gelatin that you’ve dissolved in ¼ cup hot water (let it cool for like 2 minutes first, or you’ll scramble the cream cheese).
Fold in half of the Cool Whip. This creates that beautiful white layer that makes the colors pop. Spread this carefully over your set purple layer. Back in the fridge for another 45 minutes.
Step 3: The Blue Layer (The Tricky One) This is where this Easter Jell-O pie gets interesting. Make the blue Jell-O the same way you did the purple, but here’s my secret—I add just a tiny bit of green food coloring to get that perfect spring turquoise color. Like, one drop. Maybe two if you’re feeling wild.
Let this cool to room temperature before pouring it over the cream cheese layer. If it’s too hot, it’ll melt your beautiful layers and you’ll want to cry. Been there.
Step 4: The Final Cool Whip Layer Once that blue layer is set (another 45 minutes, I know, I know), spread the remaining Cool Whip on top. This is where you can get creative. I usually pipe it with a star tip because I’m fancy like that, but spreading it with a spatula works just fine.
Sprinkle with some colorful Easter sprinkles if you want. My kids insist on this step, and honestly, it makes the whole Easter Jell-O pie look more festive.
What I Wish Someone Had Told Me
The biggest thing about this Easter Jell-O pie is the timing. You need a good 4-5 hours total for everything to set properly, so don’t try to make this the morning of your Easter dinner. I learned this lesson when I showed up to brunch with what basically looked like colorful soup in a pie crust.
Also, when you slice this Easter Jell-O pie, use a sharp knife that you’ve dipped in warm water. Wipe it clean between each slice. It makes the layers look so much cleaner and more professional.
Store any leftover Easter Jell-O pie covered in the fridge. It actually tastes better the next day because all the flavors have had time to meld together. Though honestly, I’ve never had leftovers because this thing disappears fast.
Why Kids (And Adults) Go Crazy for This
There’s something about the colors in this Easter Jell-O pie that just makes people happy. Maybe it’s the nostalgia factor, or maybe it’s because it looks like a rainbow had a baby with a dessert. Either way, I’ve never served this Easter Jell-O pie without getting at least three requests for the recipe.
My mother-in-law, who is notoriously difficult to please when it comes to desserts, actually asked me to make this Easter Jell-O pie for her book club. That’s when I knew I’d finally mastered something in the kitchen.
The texture is what really gets people, though. You’ve got that creamy layer, the firm but not rubbery Jell-O layers, and that sweet graham cracker crust. It’s like eating spring in pie form, if that makes any sense.
And can we talk about how photogenic this Easter Jell-O pie is? I posted one picture on Instagram and got more likes than any food photo I’ve ever shared. People kept asking if I’d ordered it from a fancy bakery. Nope, just me and my slightly chaotic kitchen on a Sunday afternoon.
The Bottom Line
This Easter Jell-O pie isn’t going to win any gourmet cooking awards, but it’s going to make people smile. And sometimes that’s exactly what you need. It’s festive without being overly complicated, impressive without requiring any special skills, and colorful enough to make even the most boring Easter table look amazing.
Every time I make this Easter Jell-O pie, I remember why I fell in love with cooking in the first place. It’s not about being perfect—it’s about creating something that brings people together and makes them happy. Plus, it’s basically impossible to mess up once you get the timing down.
So go ahead, give it a try. And if you mess it up the first time like I did, just call it “abstract art pie” and serve it anyway. Trust me, people will still ask for seconds.
Happy Easter, and may all your layers set properly! 🐰✨
Easter Jell-O Pie
A stunning layered Easter Jell-O pie with colorful grape and blue layers, creamy cheese filling, and fluffy whipped topping. Perfect for spring celebrations and guaranteed to impress guests with its beautiful presentation.
Ingredients
- 1 pre-made graham cracker crust
- 1 (3 oz) box grape Jell-O
- 1 (3 oz) box blue Jell-O
- 1 (3 oz) package unflavored gelatin
- 2 cups boiling water, divided
- 1½ cups cold water, divided
- 1 (8 oz) package cream cheese, softened
- ½ cup sugar
- 1 (8 oz) container Cool Whip, thawed
- Purple and blue food coloring (optional)
- Easter sprinkles for decoration
Instructions
-
Step 1Dissolve grape Jell-O in 1 cup boiling water, add ½ cup cold water and purple food coloring if desired. Pour into graham cracker crust and refrigerate 45 minutes until set.
-
Step 2Beat softened cream cheese with sugar until smooth. Dissolve unflavored gelatin in ¼ cup hot water, cool slightly, then mix into cream cheese.
-
Step 3Fold in half of the Cool Whip into cream cheese mixture. Spread carefully over set purple layer. Refrigerate 45 minutes.
-
Step 4Dissolve blue Jell-O in remaining 1 cup boiling water, add remaining cold water and blue/green food coloring if desired. Cool to room temperature.
-
Step 5Carefully pour cooled blue Jell-O over cream cheese layer. Refrigerate 45 minutes until set.
-
Step 6Spread remaining Cool Whip over blue layer and decorate with Easter sprinkles. Refrigerate at least 2 hours before serving.
-
Step 7Slice with sharp knife dipped in warm water, wiping clean between cuts for neat layers.